
This might sound boring, so apologies if so – but I’d never replaced a bannister before. I had no idea where to begin, no idea what bits I’d need, and no idea if I could do it. But, I’m all up for a new challenge, so I just went ahead and did it – and I guess if this blog helps answer at least one persons question about replacing a bannister, then I’ll be happy!
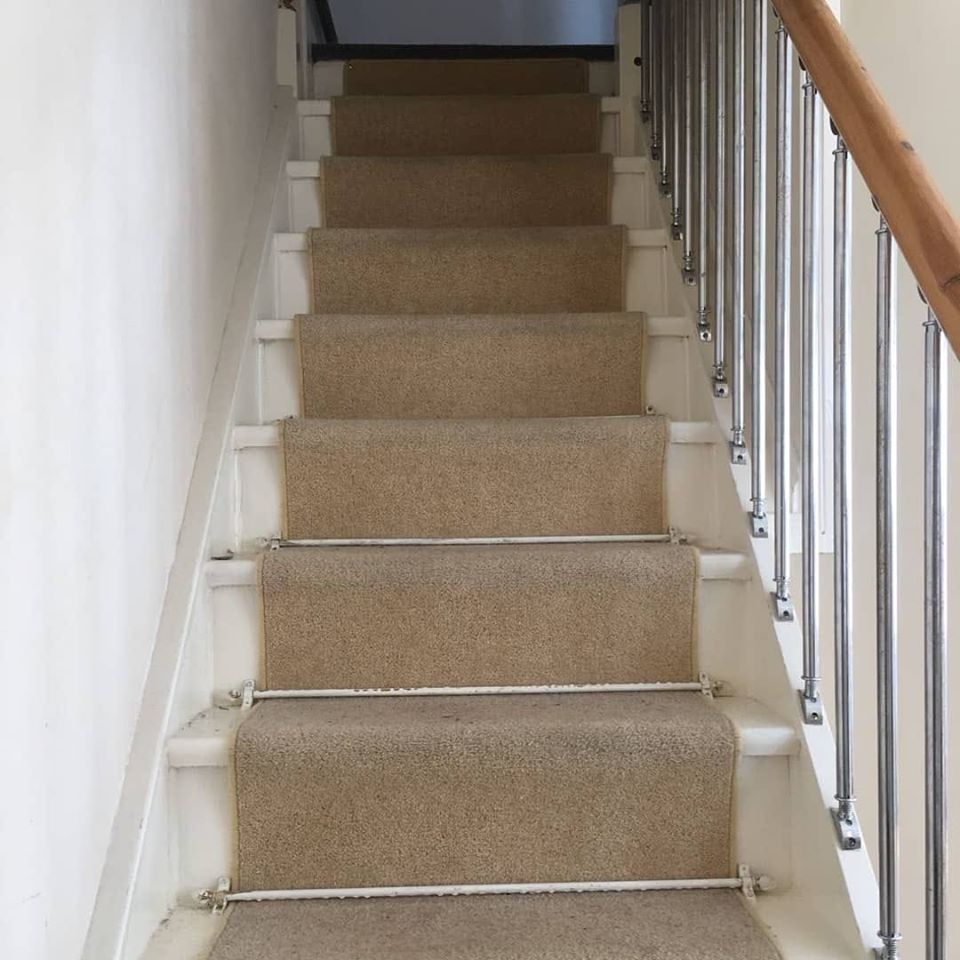
One of the first things we noticed when we viewed this house prior to buying it, was how wobbly the bannister was. I thought it could be fixed, so just kind of skimmed over the issue. Once we moved in, and looked in detail, it was clear that it was totally messed up. The spindles were cracked (plasticy metal things) and the newel posts were held in with no more nails, as was most of the stuff in this house!
Some things you should know about replacing a bannister….
- It’s not cheap – but it’s not as expensive as you think it’ll be!
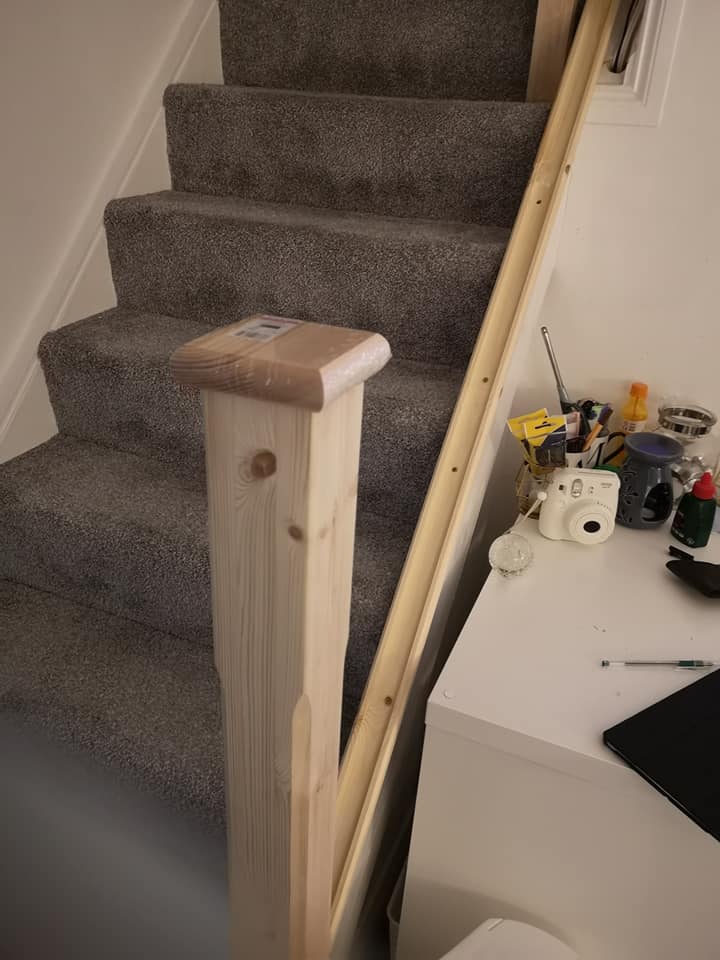
The main bannister length was about £80, and the spindles were £2.50 each. You’ll need (probably) 2 Newel Posts (the big posts at the end), around £30 each, and a fixing kit (about £10). You’ll want Newel Post caps too, to finish things off nicely. - You’ll need a roof rack! Unless you have a big car (I have a Qashqai, still needed roof rack!). The Bannister, depending on the length of your stair case, is huge.
- You’ll need a spirit level (more on this later), a nail gun, and a mitre block. Priceless investments.
I’m quite gung-ho when it comes to DIY projects (I’ll do a post about moving doors later!) – so I just cracked on a ripped out the old bannister. It wasn’t safe, it couldn’t hold the force of the child gate, so it was important that we had something sturdy that was capable of doing it’s job.
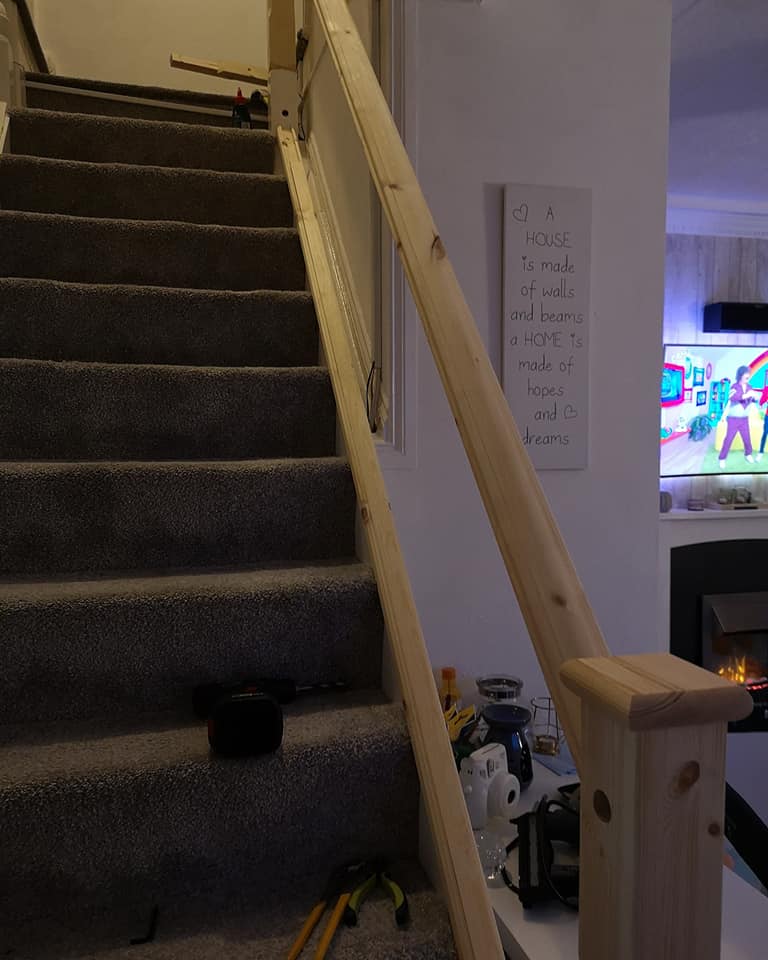
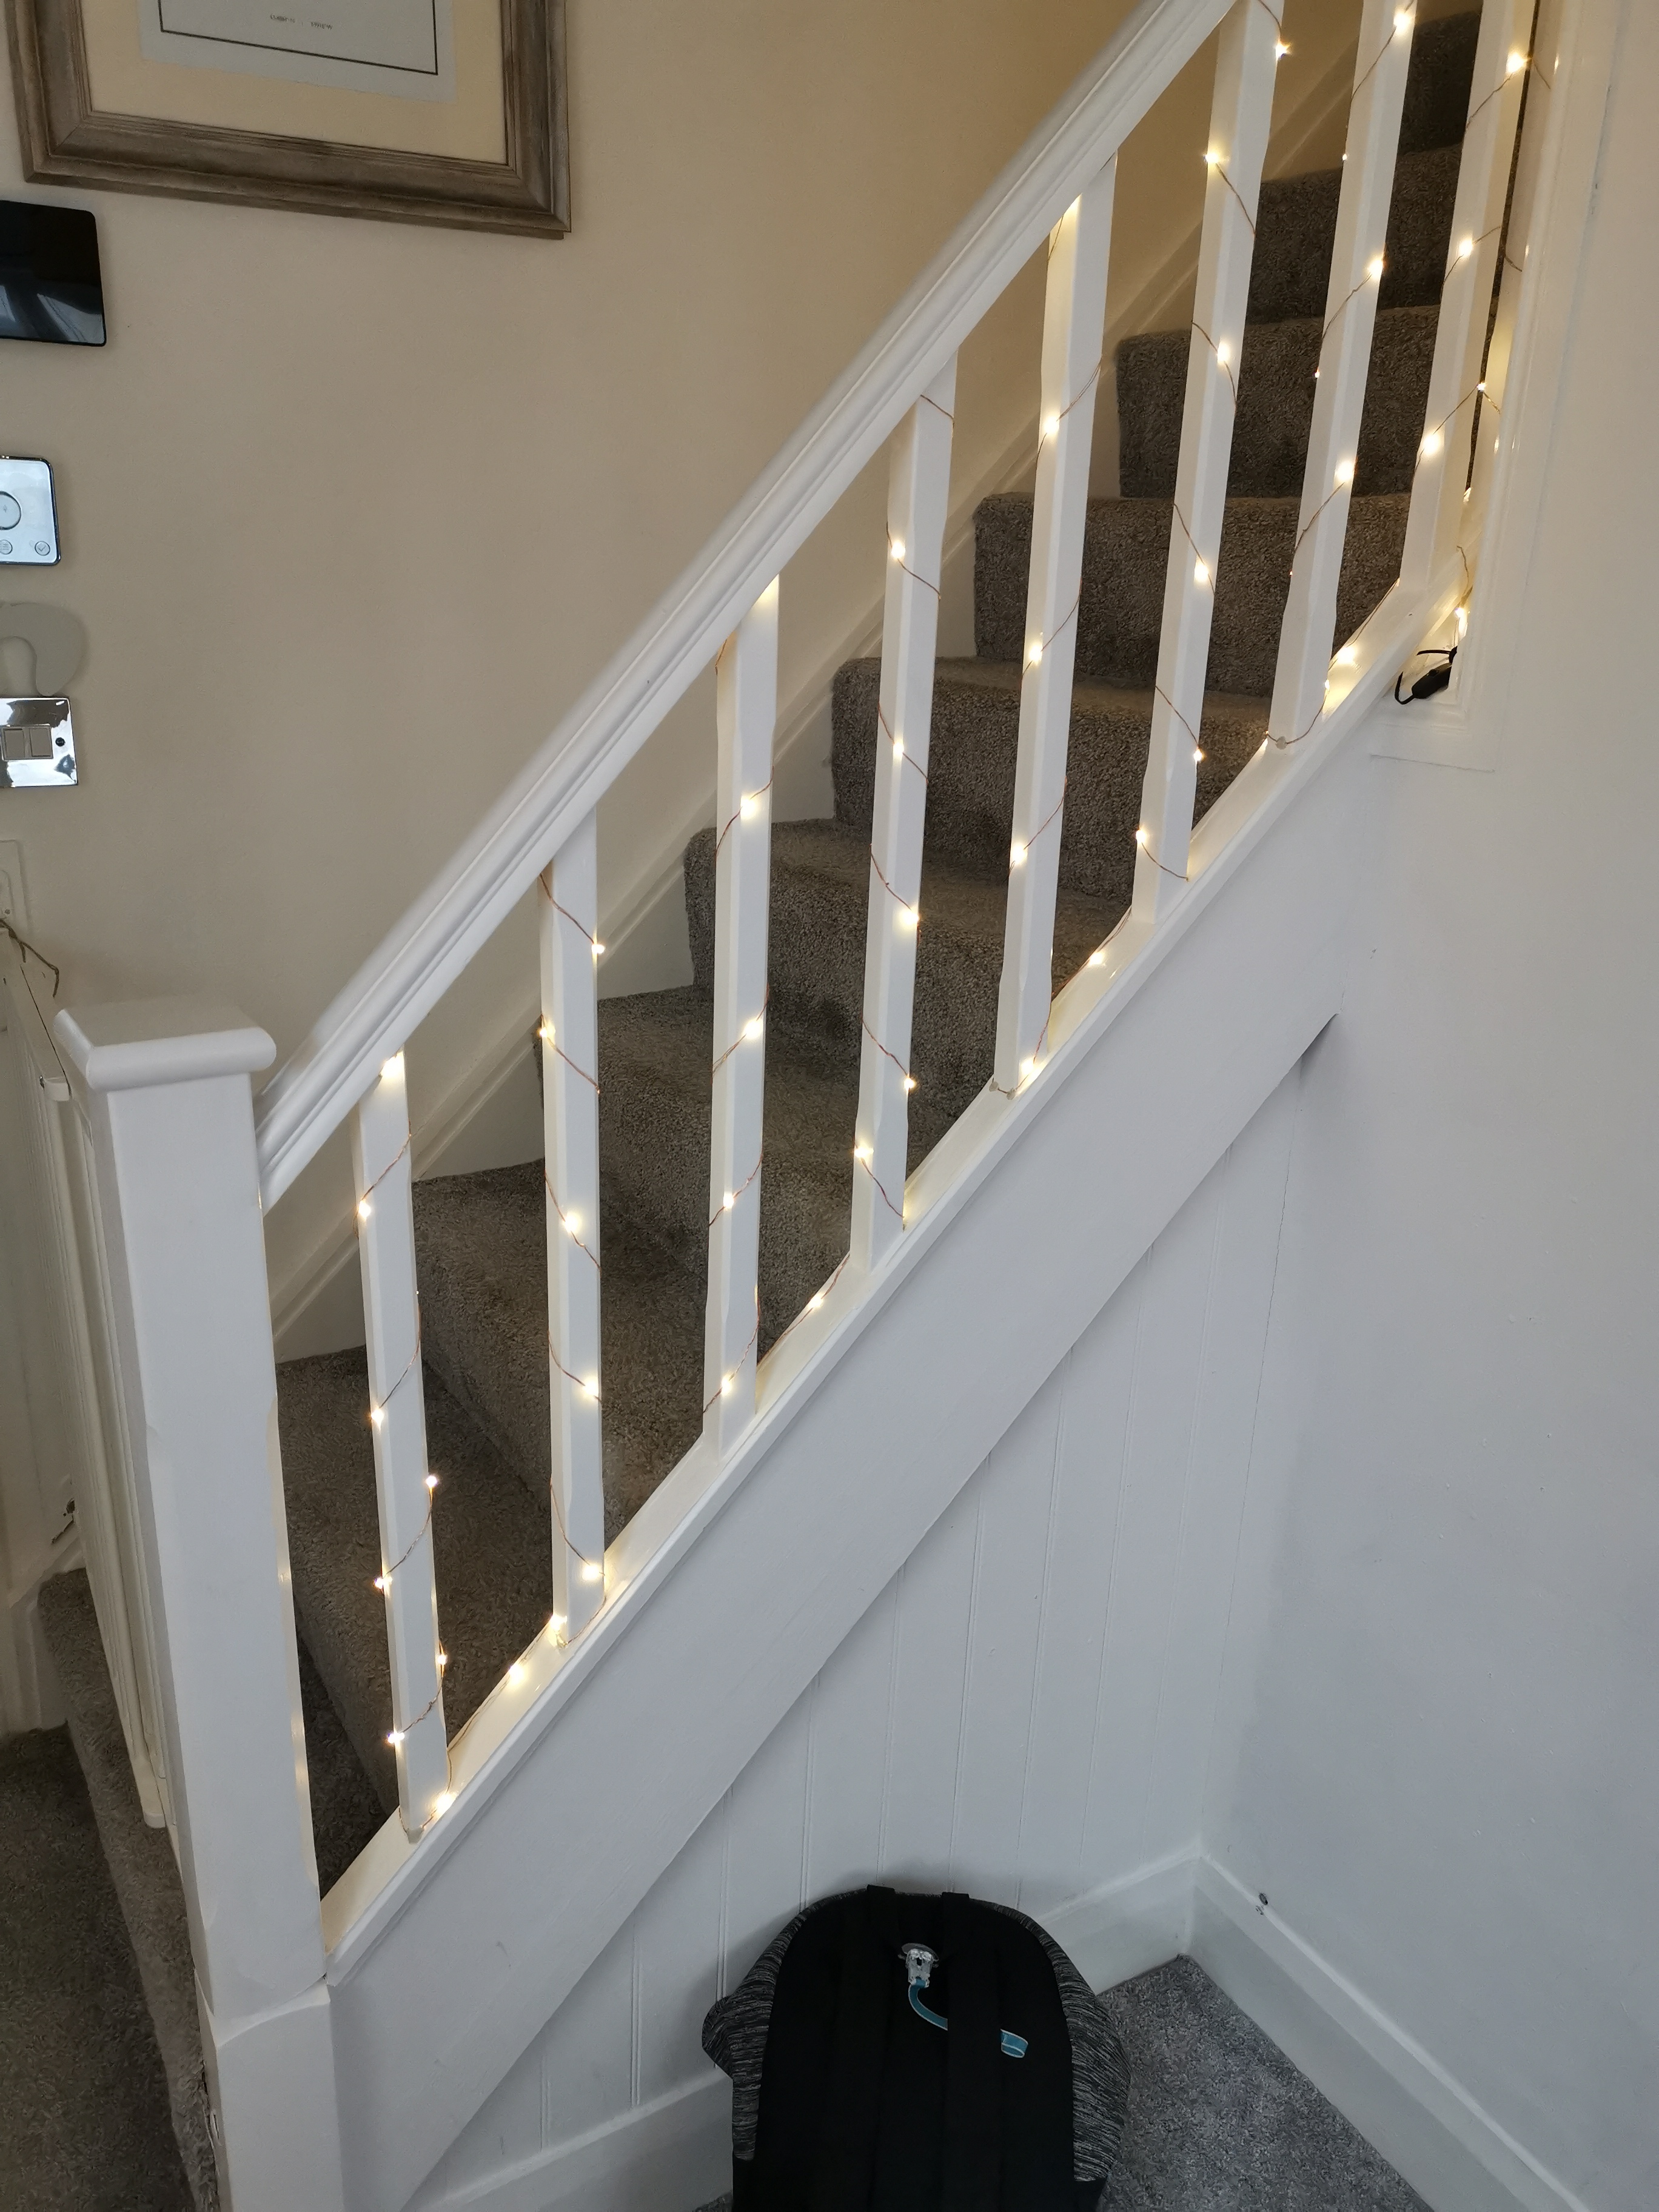
Once it was out, I cleaned up the Newel post peg holes (you’ll need to measure these and check you can use them again, if not, you’ll need to drill out new ones. I was lucky). In the picture below, you can see the first Newel Post in place, and the fixing kit running up the staircase (this is where the spindles sit in to).
The next job is to cut the Bannister itself. Be careful here, the old “measure twice, cut once” can’t ring any louder in your ears. You need to get the correct angles on the Bannister cuts so they fit precisely over the fixing bolt holes on the Newel Posts.
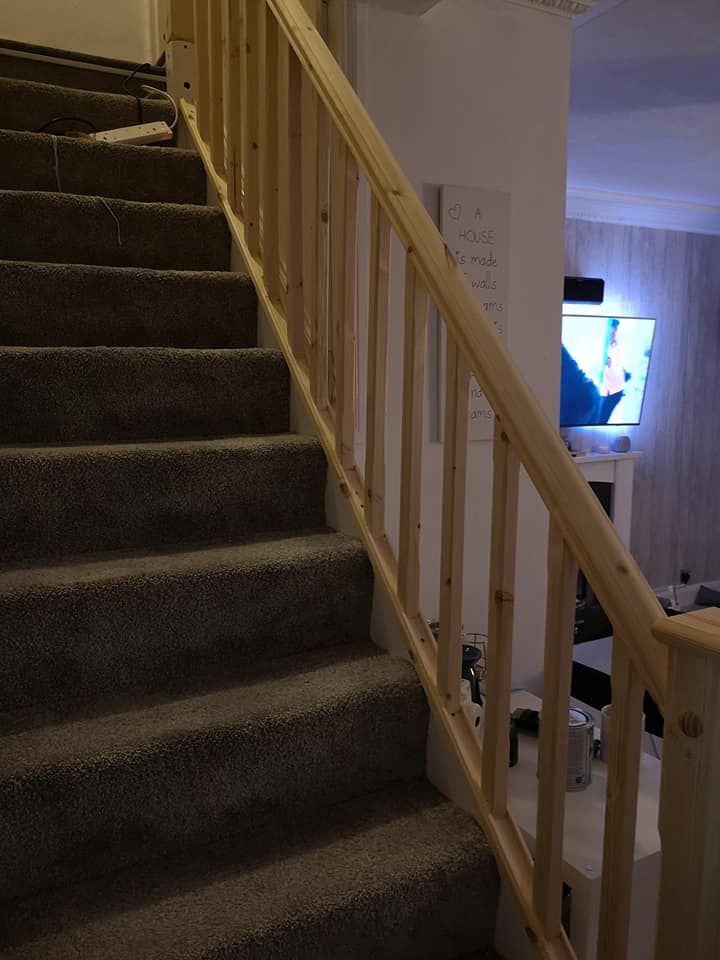
Next, it was time for the Spindles. There’s a good website you can use to calculate the gap required between them based on your staircase – https://www.blocklayer.com/centerslevel.aspx
Now, the mistake I made here (and most of you probably won’t suffer from) – I was using the spirit level to ensure the spindles were straight, but once fitted and I stepped back, I noticed that the cupboard that runs next to the staircase WAS NOT STRAIGHT, so all my spindles looked squiffy. So yes, after a few weeks of looking at them and getting more annoyed, I took them all out and fixed them again.
So my suggestion, use a spirit level, but take a step back before nailing and gluing them in, and check it “looks” straight compared to the other features in the room
Another top tip, really, is to paint the Spindles first. Again, in most staircases, this won’t be an issue, but ours is only half accessible, so painting the other side of the spindles was a pain in the butt.

All in all, it really wasn’t as much of a challenge as I thought it would be, and the end result is something I’m really happy with.