
It’s not as epic as it sounds. Leading out from our utility room, we have a small “garden room”, as we now call it. It’s about 10ft by 5ft, so not a bad size, and it’s got a sliding door that opens out on the to garden.
It’s in no way insulated, and it has a plastic corrugated roof. In the summer, it’s like a greenhouse. And in the winter, it’s like a freezer.
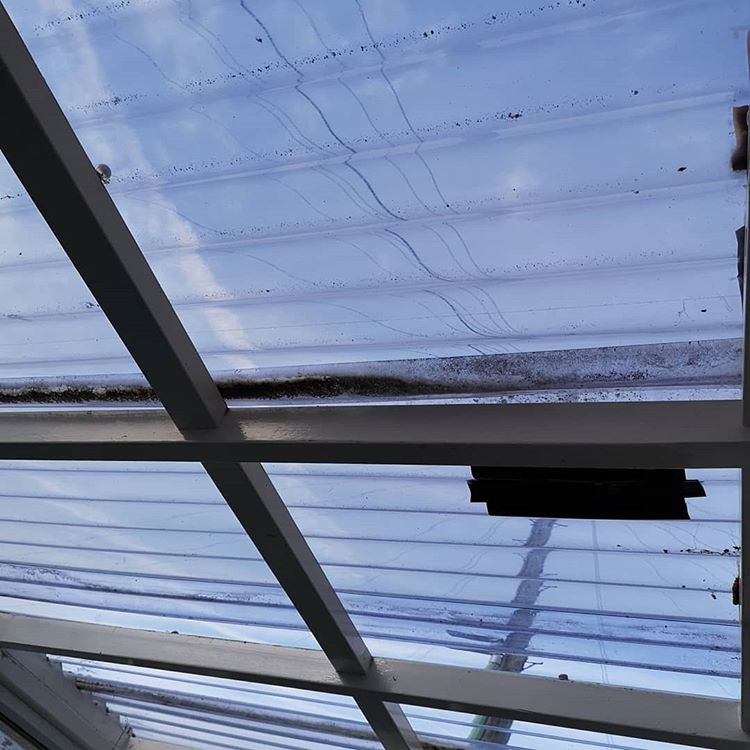
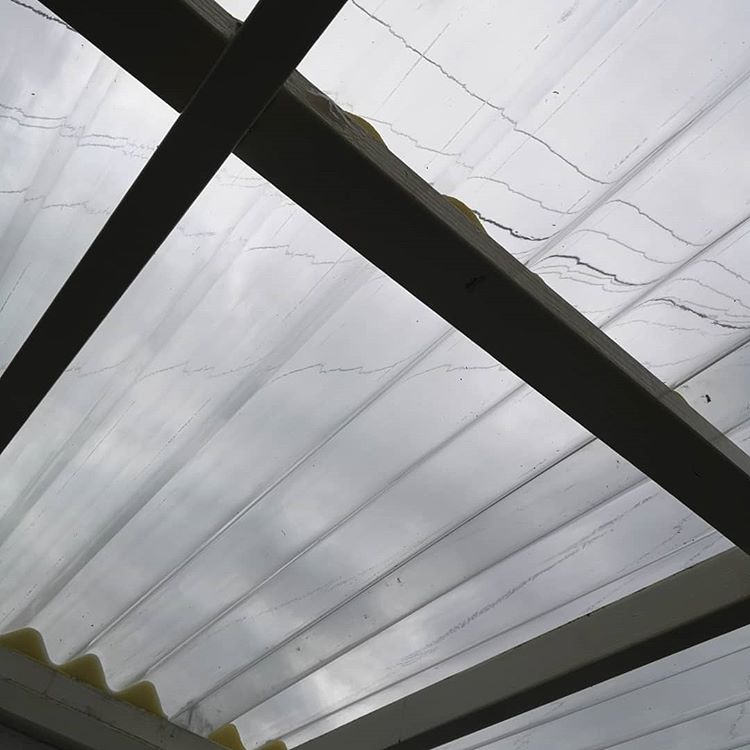
When we bought the house, we noticed the roof had been patched up a fair bit, and there were water marks on the floor, where it had clearly been leaking. There was signs of damp on the walls, and some of the wood around the sliding door had rotten away. I treated the walls, and replaced the rotten wood – no point fixing a leak and leaving the damp.
If there’s one thing I can’t stand, it’s water where water shouldn’t be. So (you can guess what’s coming…), I decided that roof was due a replacement. Corrugated plastic doesn’t have an overly good lifespan, and with the sunlight hitting it all summer, it weakens quite quickly. From the house details, we estimate that this was added about 30 years ago, and to be fair, I doubt it had been replaced since then.
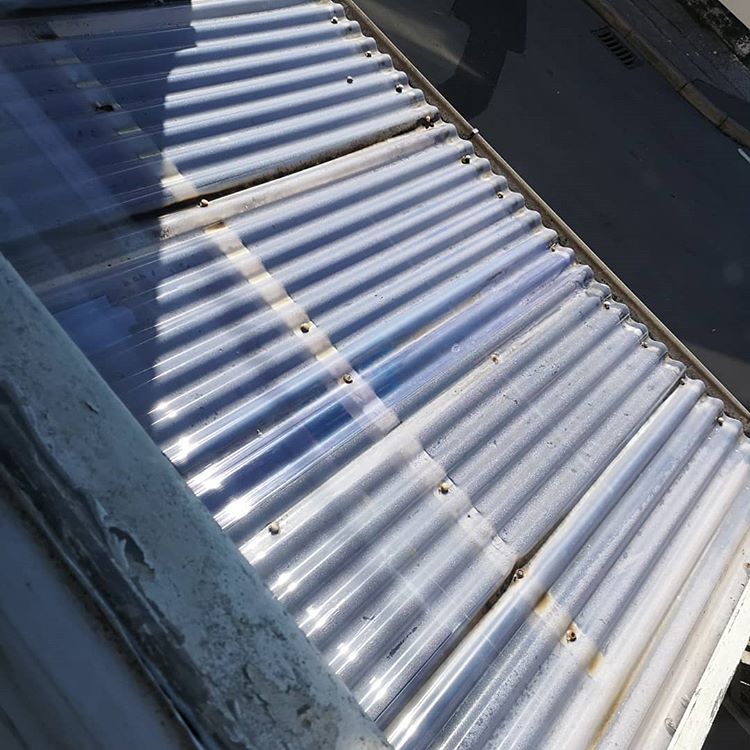
You can see in the picture above, the plastic is blackened in places where the water sits, and leaks through.
…and the gaffa tape blocking up the cracks. It really was in a state.
One sunny day, in September, I started to rip the old roof off. This had to be a “done in a day” job, because we didn’t want damp getting in to the building any more than it already had.
The old plastic came off incredibly easily, it literally shattered in my hands as I was removing it. Once it was off, I had to remove the seal around the edge of the house. A hairdryer was all it took to loosen the adhesive enough for me to remove it all. We knew we’d be painting the exterior of the house, so and damage to paintwork was ignored.
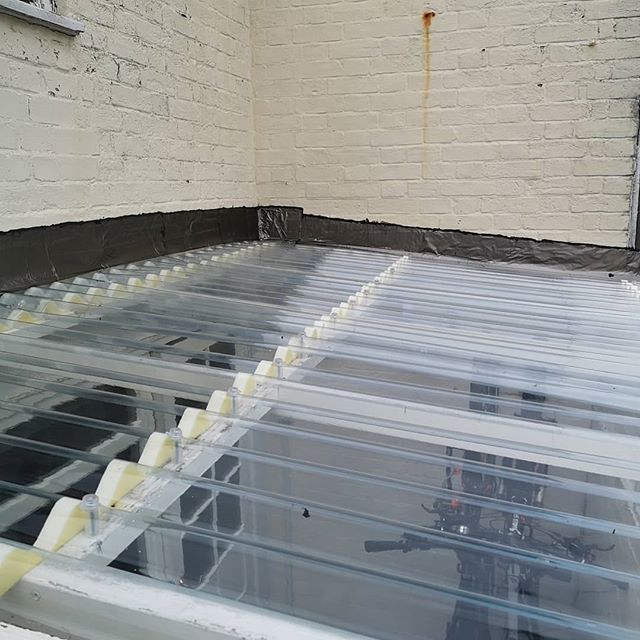
The new roof was quite easy to fit. I pre-cut all the plastic to size to minimise the up-and-downs on the ladder, and with the foam spacers and correct screws to ensure the plastic wasn’t damaged, the new roof only took a couple of hours to fit.
I added some of the special plastic flashing along the back of the roof where it meets the wall – this ensures and water that comes down the walls is deflected away from the joints and down the roof. I also used a spirit level to ensure the run off was enough to allow the water to trickle to the guttering (which I also had to replace, because it wasn’t in the right place to catch all the water off the roof so it was dribbling down the wall. Honestly, this house used to be rented, and I think the old owner just didn’t care at all!)
Finally, I added new flashing adhesive to seal the joints where the plastic flashing meets the wall. Again, a hairdryer warmed the adhesive enough for me to manipulate it as much as I needed, and a wallpaper seem roller ensured I made a good bond without any bubbles or gaps.
It was a job that needed doing, and now, I don’t think it’ll need doing again for the time that we own the house (we don’t plan on living here forever!)
Of course, in that last picture, you can see the real reason why I wanted it to be watertight….keeping my babies dry 😉