
A few years ago now, I built an “Arcade Table” – basically a DIY Arcade Machine that was styled in to a Coffee Table, that could (and did) live in our lounge for a while. But then, Grayson came along, and suddenly a 1ft hight square-edged table in the middle of the room he was crawling around, just wasn’t practical! We moved house, and arcade table gathered dust in the corner of my office. Until one day when G was old enough, he saw it, and wanted to use it. We found a Thomas the tank Engine game on it, and that was that. Below, is the original Arcade Table (not the one made in this post!)
But, a table isn’t a practical thing for a toddler to use as a gaming device. So I set about making a DIY Arcade machine – for toddlers!
In this Post.....
Step 1: Planning
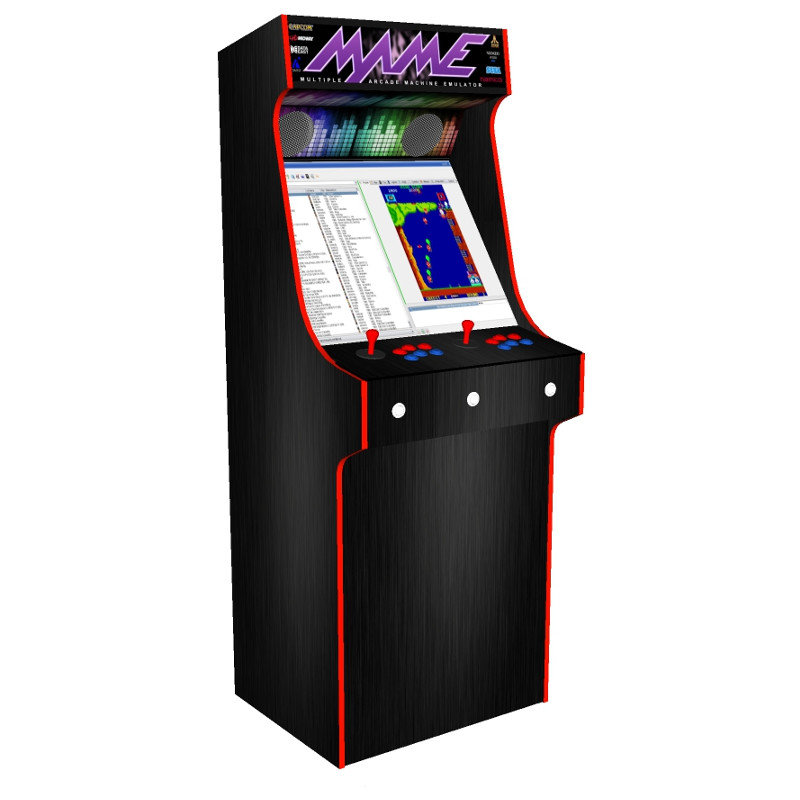
I didn’t do a huge amount for this, to be fair. I’ll explain why. The foundations for this project were already there. I had a screen, a working emulator (more about this later), the buttons, controllers etc. I had it all, and I knew how to get it working. On the face of it, this was just a cosmetic change for the hardware I already had. So basically, the only planning I had to do was how to construct a frame to make the classic MAME arcade style cabinet. The aim, was to make a toddler size one of these:
I measured Grayson – because, believe it or not, I was making this for him, not just for me to use 😉 – so the height was important, he had to be able to stand and use it. A few sketches on a bit of paper, and I had a shopping list. Next stop, B&Q.
Step 2: What you’ll need
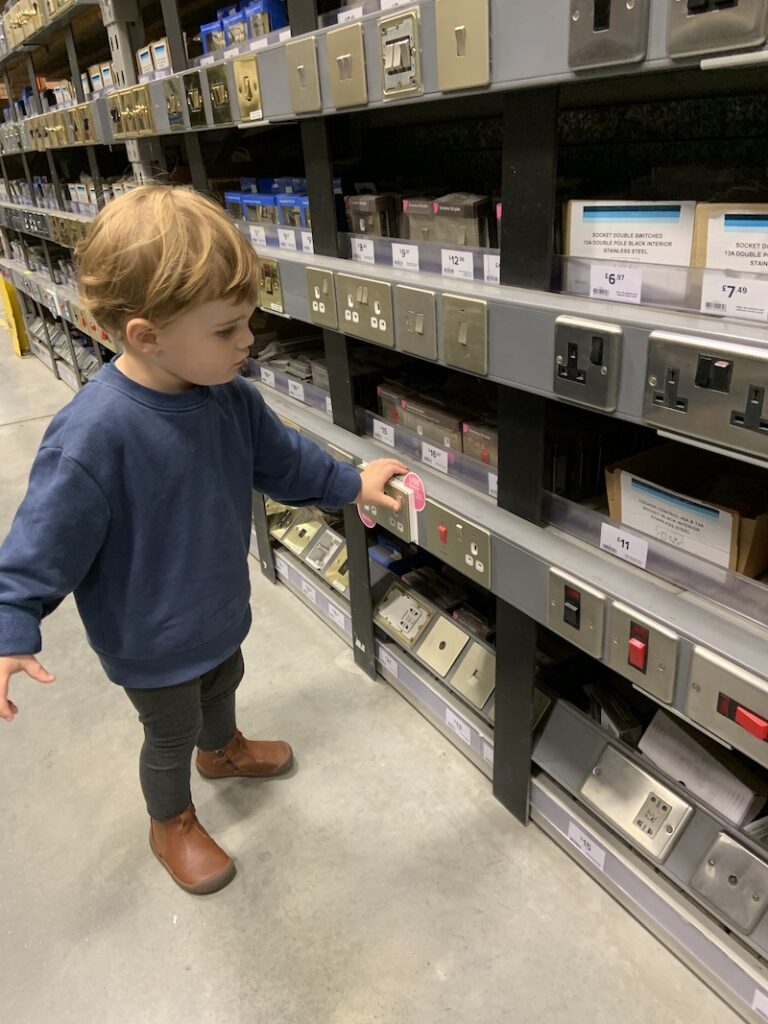
Armed with my trusty assistant (Grayson!), we hit the DIY store. Me and G have often gone to the DIY shops on our own – mainly because I’m normally buying stuff that can’t fit in the car with all of us, but also because G loves it – so I take him when I can. His latest obsession is to go and press all the light switches!
We didn’t need to buy much, just some MDF and a few fixing brackets at this stage. But, for those starting from scratch, here’s a rough list of what you’ll need (tech wise too):
1: Materials for your cabinet. I went with MDF, you could use conti-board, chipboard, whatever you feel like working with. For me, being able to easily contour the edges was key, so MDF ticked the boxes. I also bought a length of timber (2″ by 1″, 6ft long) for the supports. A load of screws (honestly, go to Wilko, you can pick and mix a big bag of screws, nuts and bolts for about £2.50)
2: A screen. I got mine from work as they were binning a load. It’s VGA, square, bad quality. EXACTLY what you want for a retro DIY Arcade Machine!
3: You’ll need something to run the games on. I opted for a “Raspberry Pi” computer, because, they’re cheap, and (of course), I had one spare (who doesn’t, right!?). I then installed “Retropie“. I won’t talk about where to get the games, you can research where to get them yourselves.
4: Buttons and controls. Honestly, hit ebay. You can get a USB button controller for a couple of quid. Buttons don’t cost much more, and neither does the controller itself. Hundreds of styles to choose from, so pick the ones that match your style.
5: Speakers – I wanted a cheap, bass sound that old MAME machines had. I got these speakers on Amazon for a few quid, and fitted them inside the finished unit. The hollow case allows the bass to echo, and it sounds perfect.
6: Stickers (if you want to go for the sticker bomb approach) – and a tin of clear wood varnish, to protect the stickers from peeling and rubbing away
Step 3: The build
Now I’m pretty slack when it comes to planning things like this – so the build process for me was very much a case of just getting stuck in to it. And this really isn’t a complex as you might think – it’s three bits of MDF, and some left overs to piece it together. I have no “workshop” to build things in – so this was all done in the kitchen, balanced on chairs and the table. The biggest power tool I own is a jigsaw, so lots of cutting by hand for this.
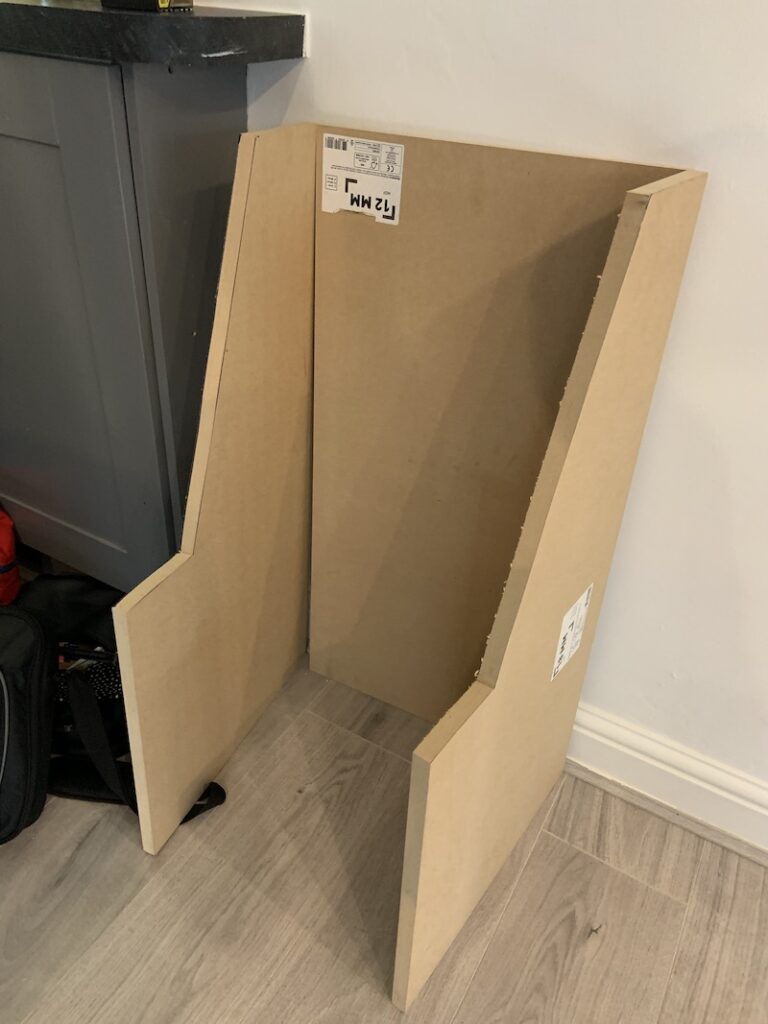
The initial planning 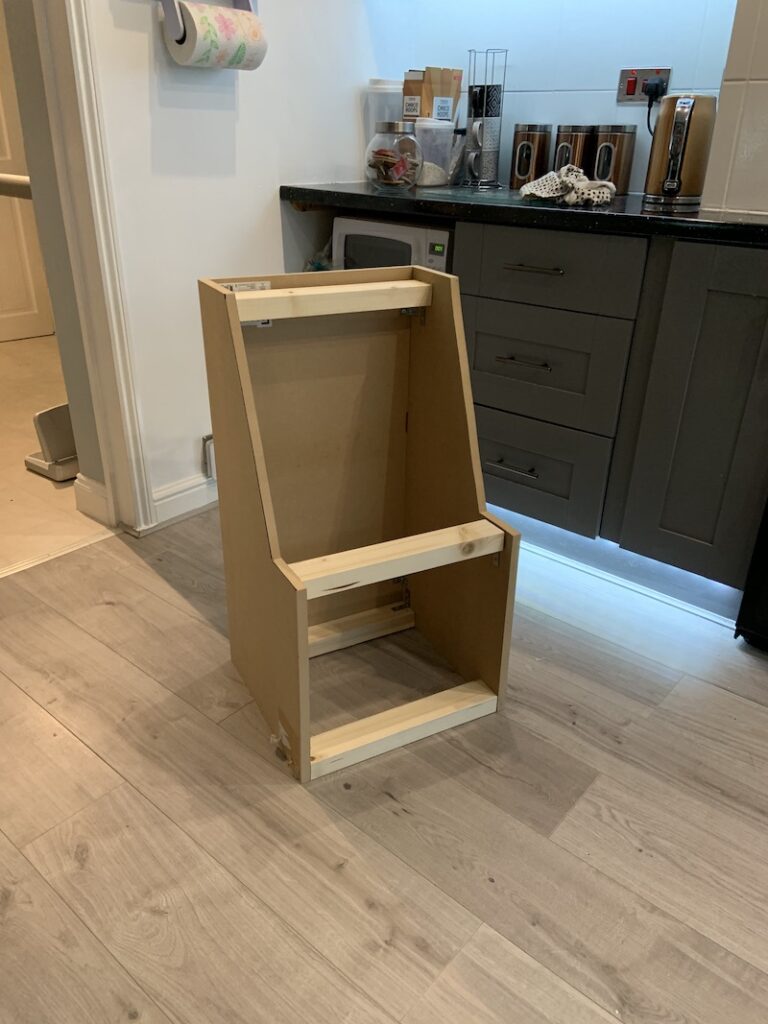
First built 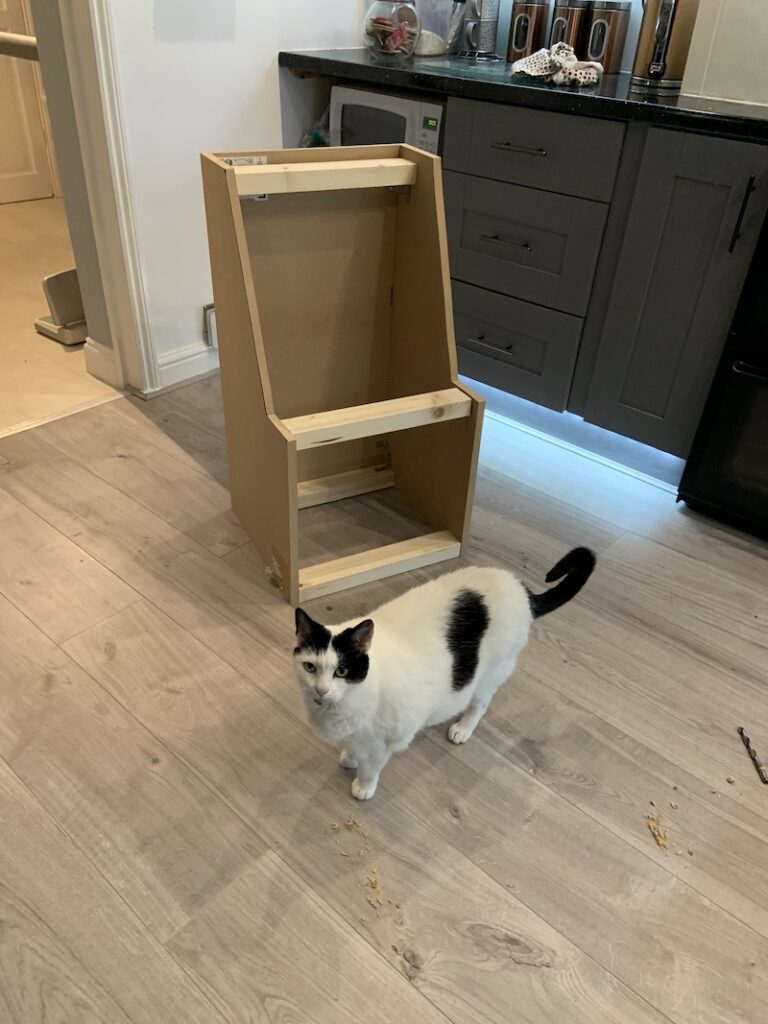
The cat, for scale (it’s for a toddler!)
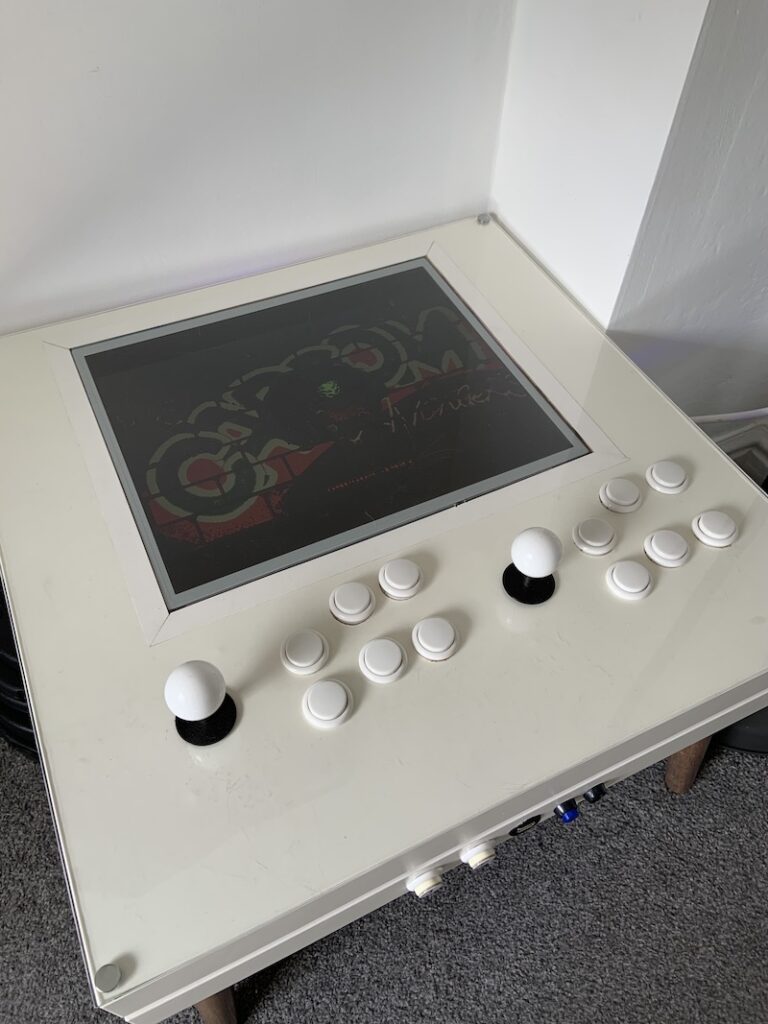
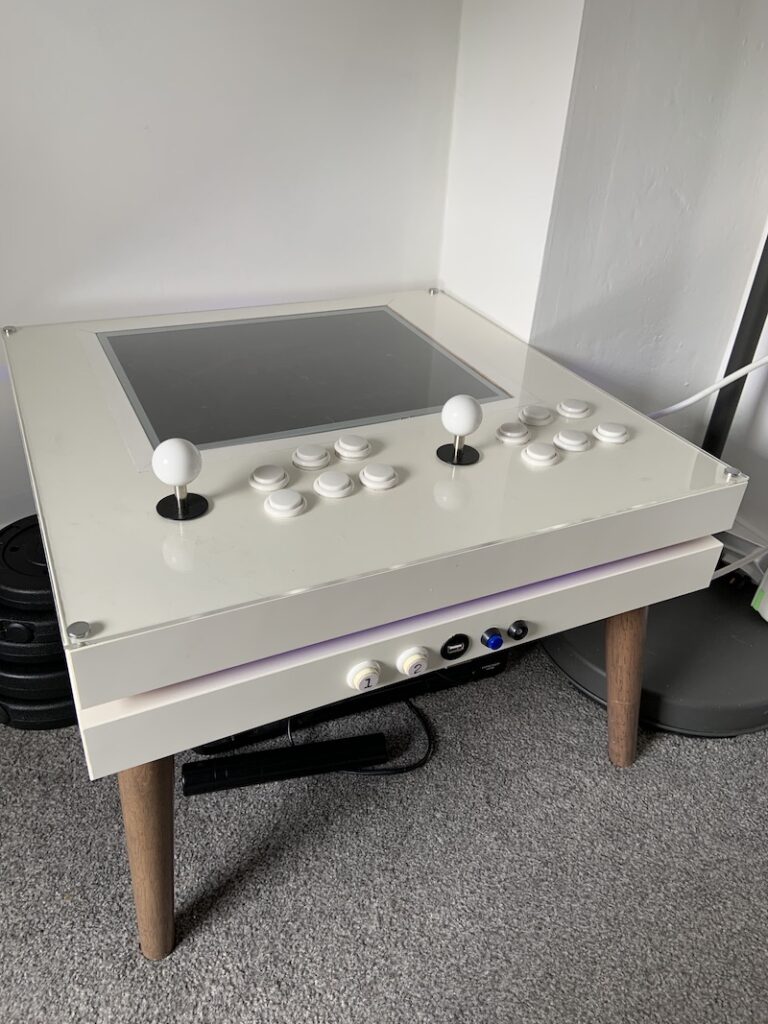
I guess one of the key things I had in mind for this DIY Arcade Machine is that it’s a solid, sturdy build – so I probably over engineered the cross supports and thickness of the MDF – but knowing that Grayson would lean on it, it was important that it didn’t collapse under the weight / pressure of someone leaning on the front (where the controls will live). The width of the cabinet was decided by the size of the screen I already had, which was an old 19″ monitor that work were throwing out, and the height ( as I mentioned earlier) is based on G’s height.
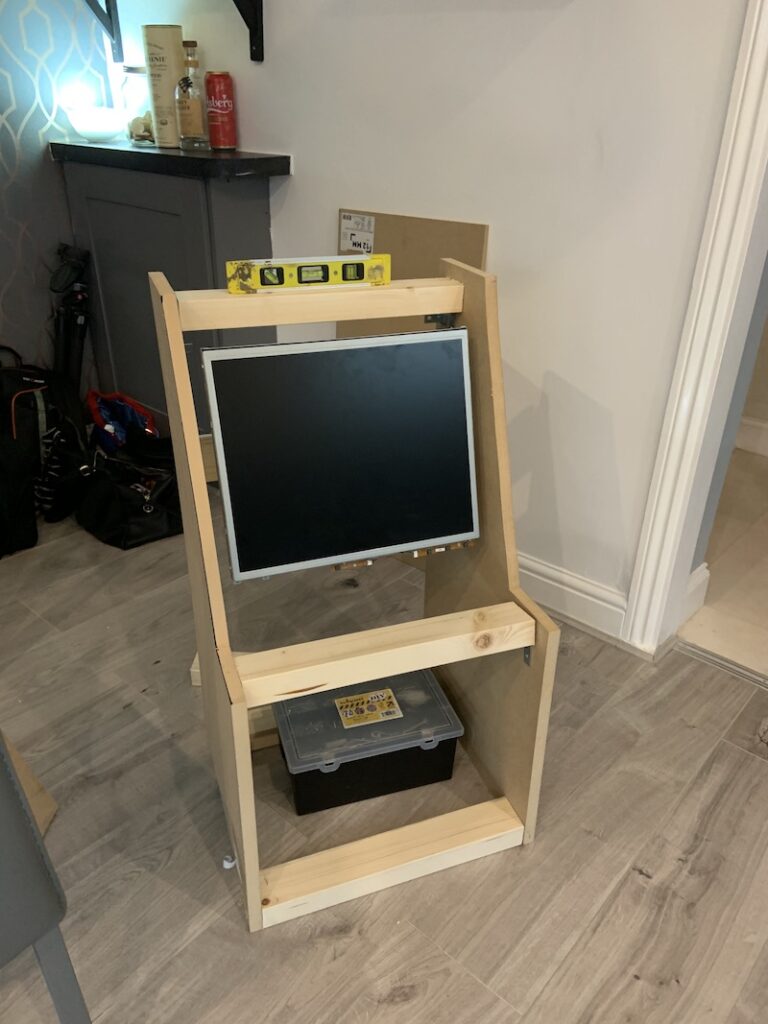
The screen in place 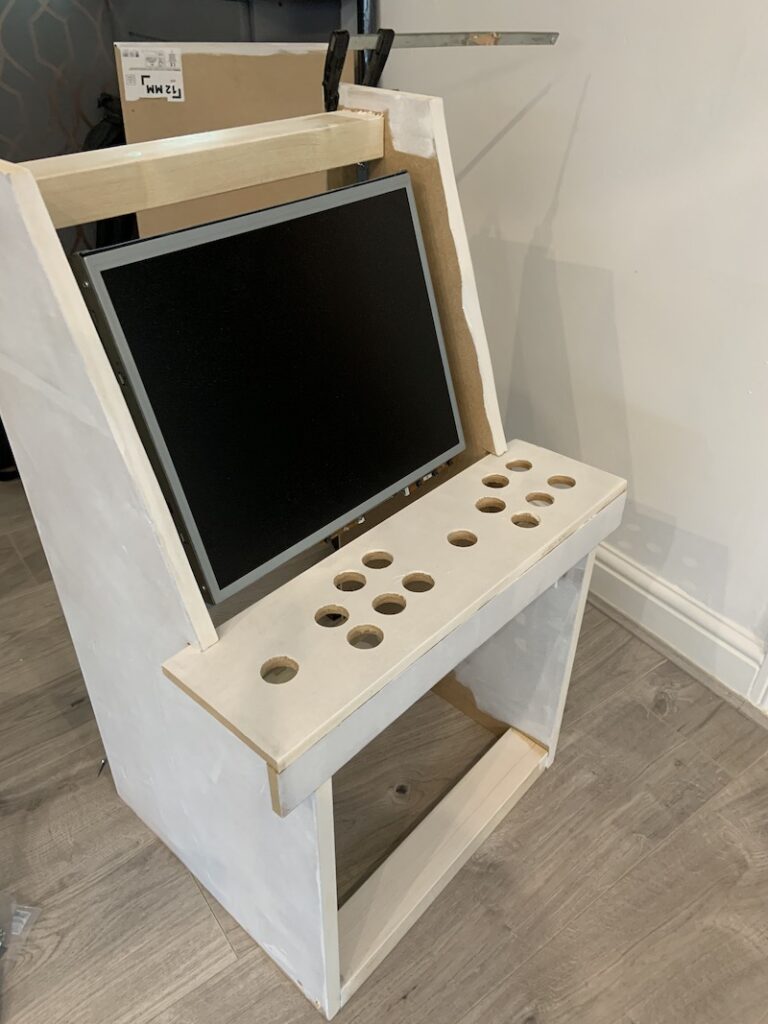
A coat of sealant, and the first attempt at a control panel
The control panel was a copy of the one I had originally, so I didn’t need to worry too much about the button spacing as past-Mark handled that two years ago. There’s a whole world of MAME arcade table button layout templates on line – so pick your style and get a template printed. It’ll save you hours of messing about and getting things wrong.
The MDF needed a coat of sealant on it, because nothing really sticks to MDF in its raw state, and my original plan was to just put stick on (fablon) over it, so it was black. But I wasn’t happy with that finish – it was bubbly, and looked a bit bland, so I changed it to have a stickerbomb effect.
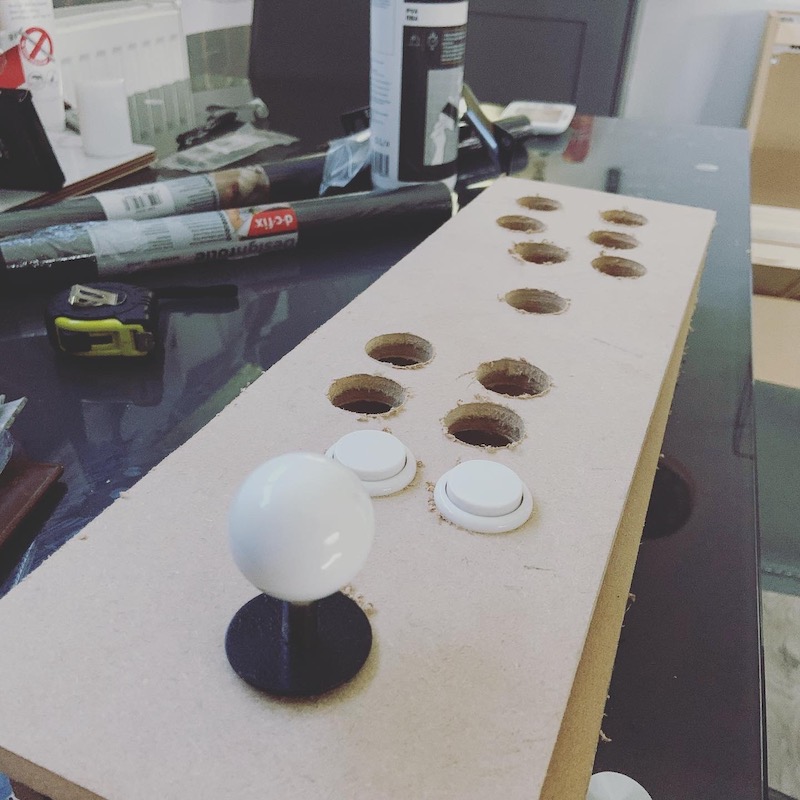
The Control panel – fitting the buttons 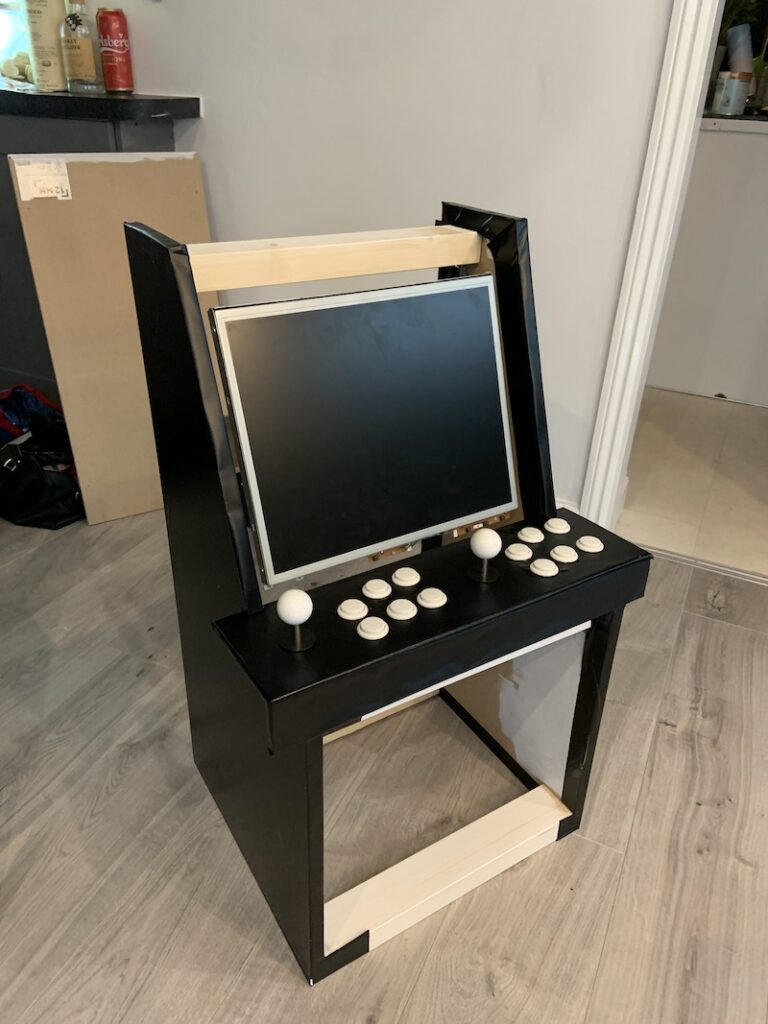
Black adhesive applied – but I just didn’t like it 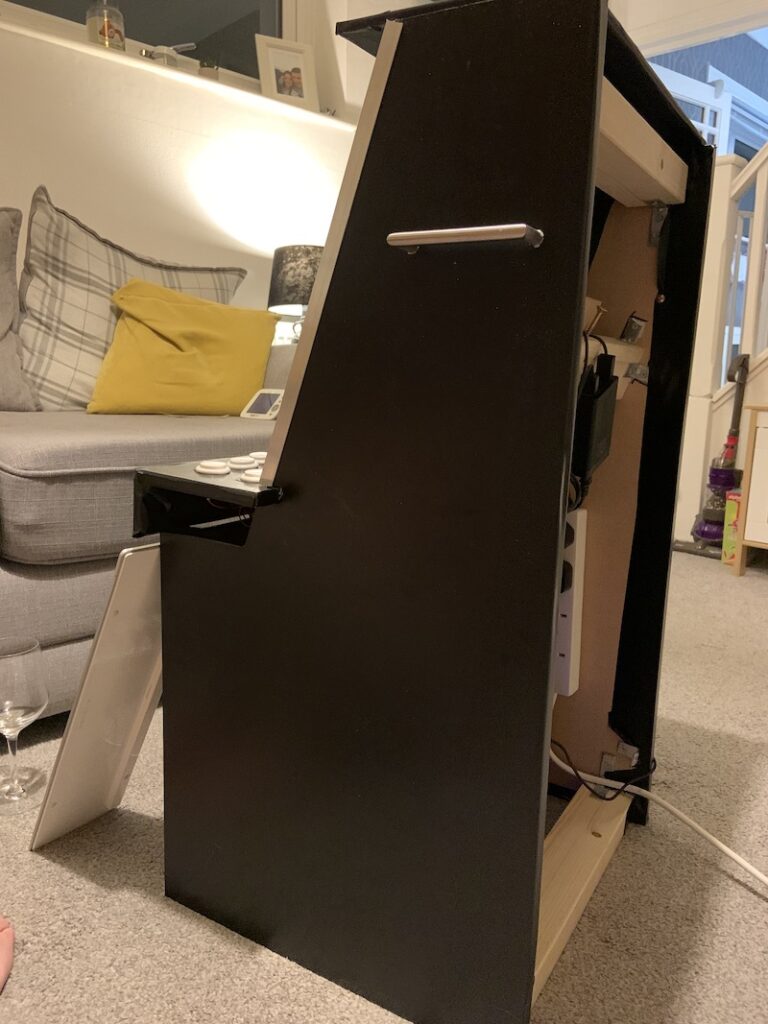
Side view – you can see the insides a bit here too
You can see from the middle image above, the screen had a void around the edge – to fix this, I cut some thin hardboard to fit snuggly around the monitor, and screwed it in at the top and bottom, so the fixings are totally out of sight (and out of toddler reach!). I also fitted a front “faceplate” and a front “kick bar”, to fill in the whole at the front of the machine, and so Grayson could rest a foot on the bottom if he wanted (like some proper MAME machines had). This has a stainless steel effect on it (it’s just wood underneath though!)
Step 1: No stickers 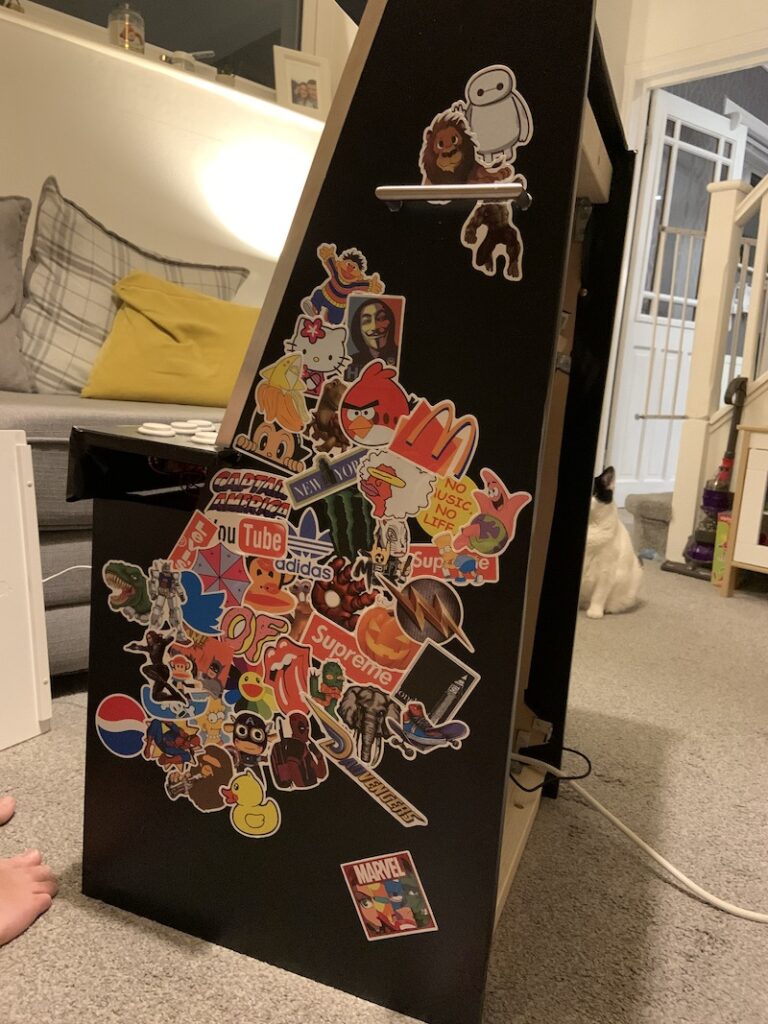
Step 2: Some stickers 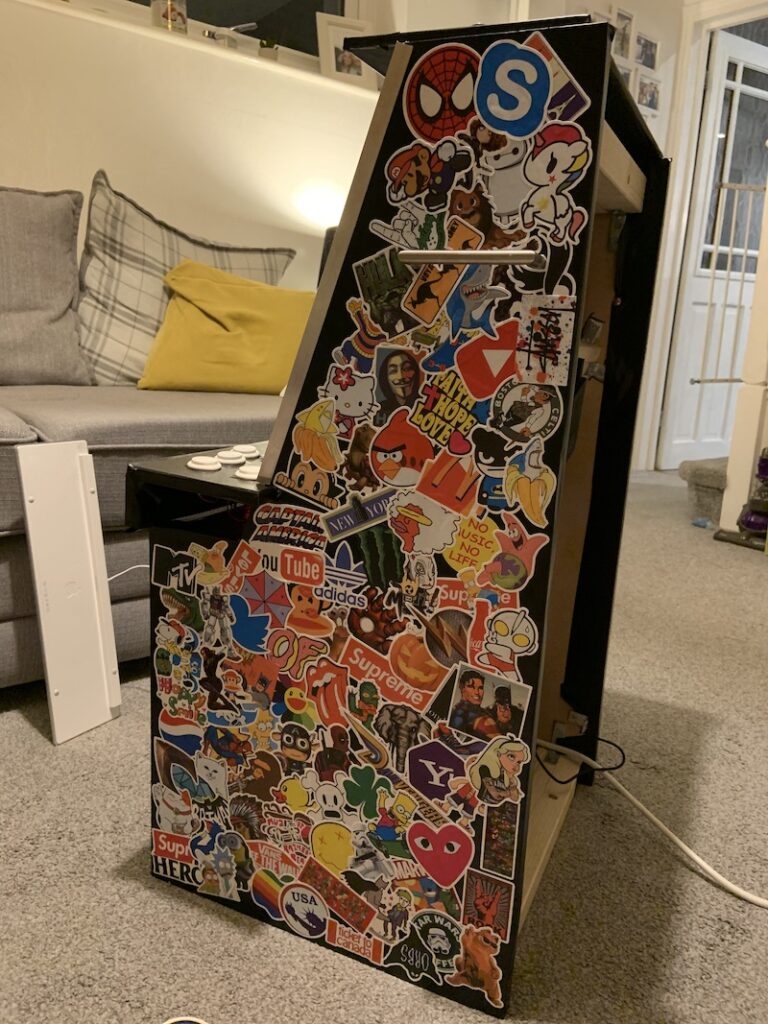
Step 3: Lots of stickers 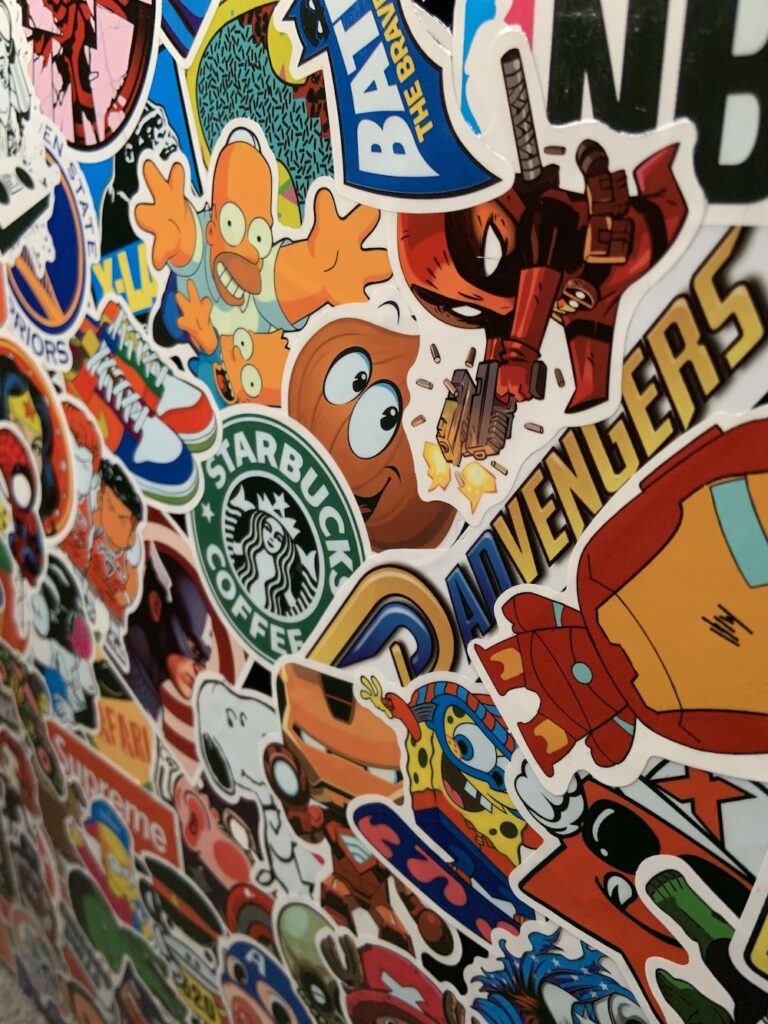
A close up of the sticker bomb finish – I had a couple of custom stickers made too, like this Dadvengers one
All in all, I used nearly 700 stickers to cover the whole DIY Arcade Machine. I then applied about 5 coats of clear wood varnish, to stop the stickers from peeling off, and to prevent them rubbing away where hands might go and so on. It took ages – but my one tip for stickerbombing anything – just don’t really think about it – stick wherever you want. Don’t start at the top. and work down, or at the bottom and work up – start anywhere, stick – anywhere. Just let it happen, you’ll work it out. I cut a load of stickers in half so I could have neat edges – but that’s not crucial, you can bend them around edges or trim with a sharp knife afterwards. You want it to be random, so act randomly!
Finally, I applied some self adhesive chrome edging to all the front and top edges, and fixed the big MDF door on the back (didn’t want Grayson seeing / getting inside it!). I then added letters to the buttons (as they were blank), and coated them in clear nail varnish to make sure they didn’t rub off with prolonged use.
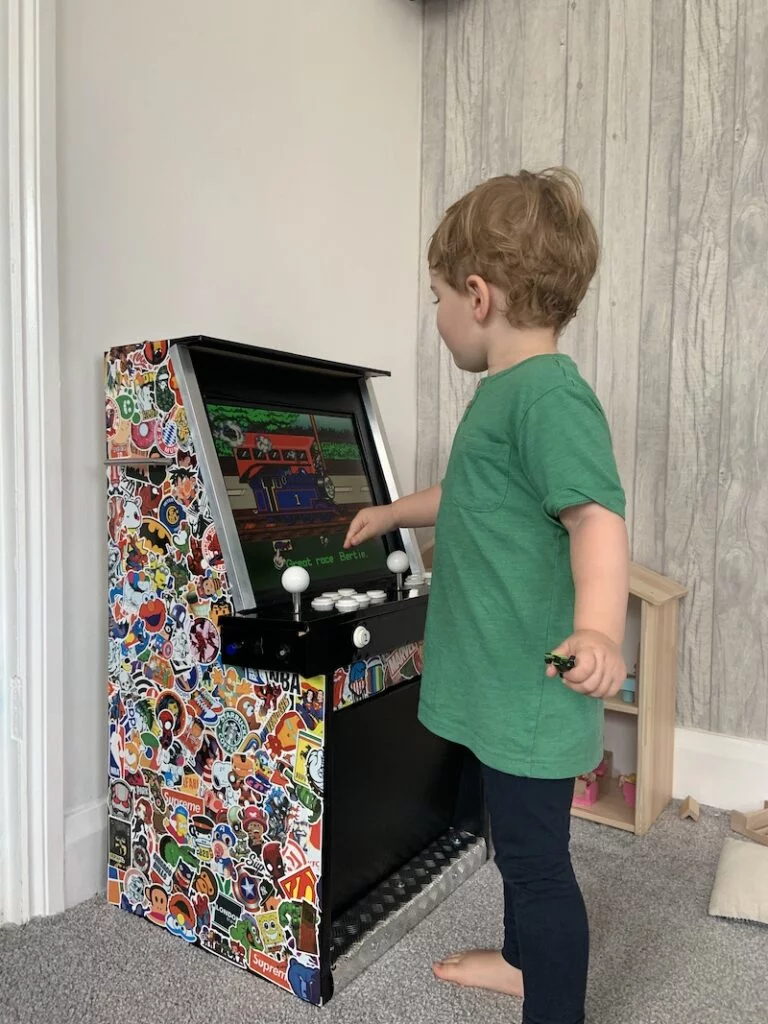
The arcade software I used is called “Retropie” – and it runs on a small computer (costing like £40), called a “Raspberry Pi“. I won’t bore you with the tech details for that here, but if you’re interested, let me know. Currently, we have about 4000 games, from all kinds of old systems (Master System, Mega Drive, MAME, SNES, N64, Amiga and so on) Not all of them work – some emulators are hit and miss with their reliability – but all in all, it is ace, and more importantly, Grayson loves it!
The final product
One happy customer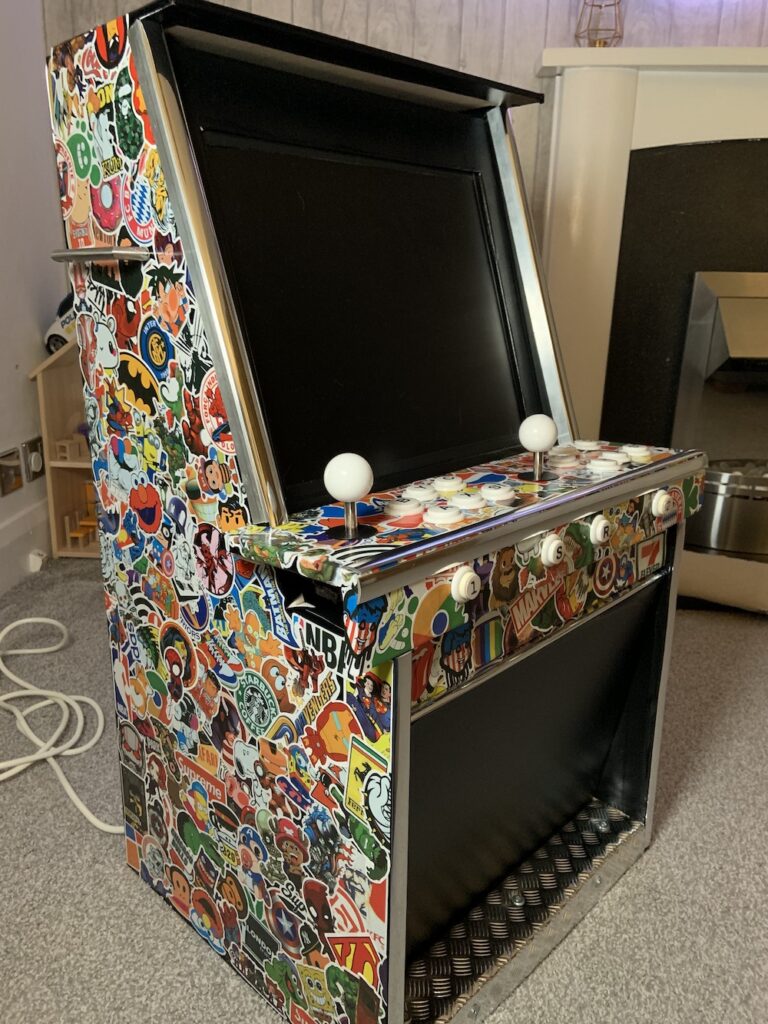
All the stickers 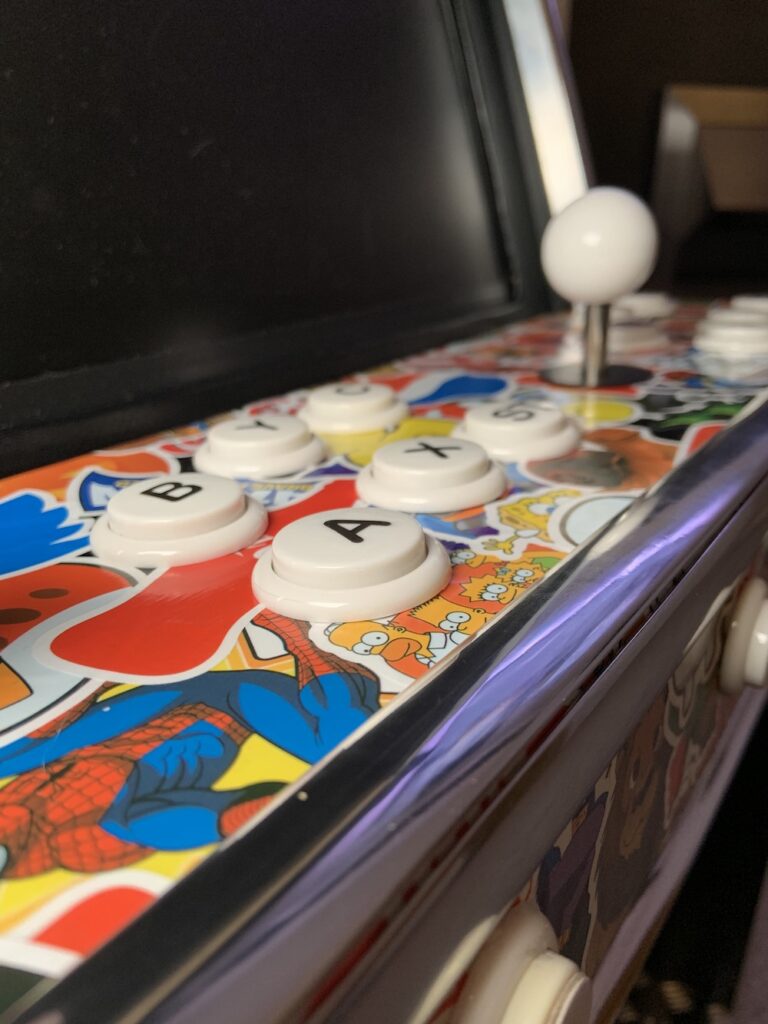
Close up 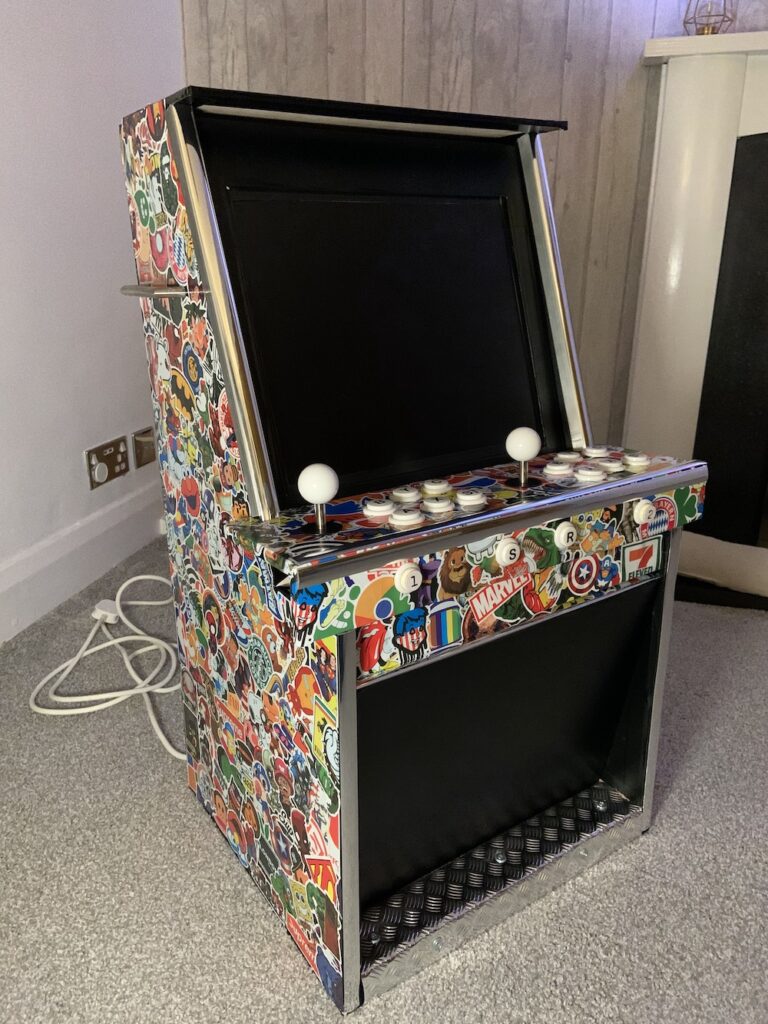
The DIY Arcade Machine 
A close up of the front buttons 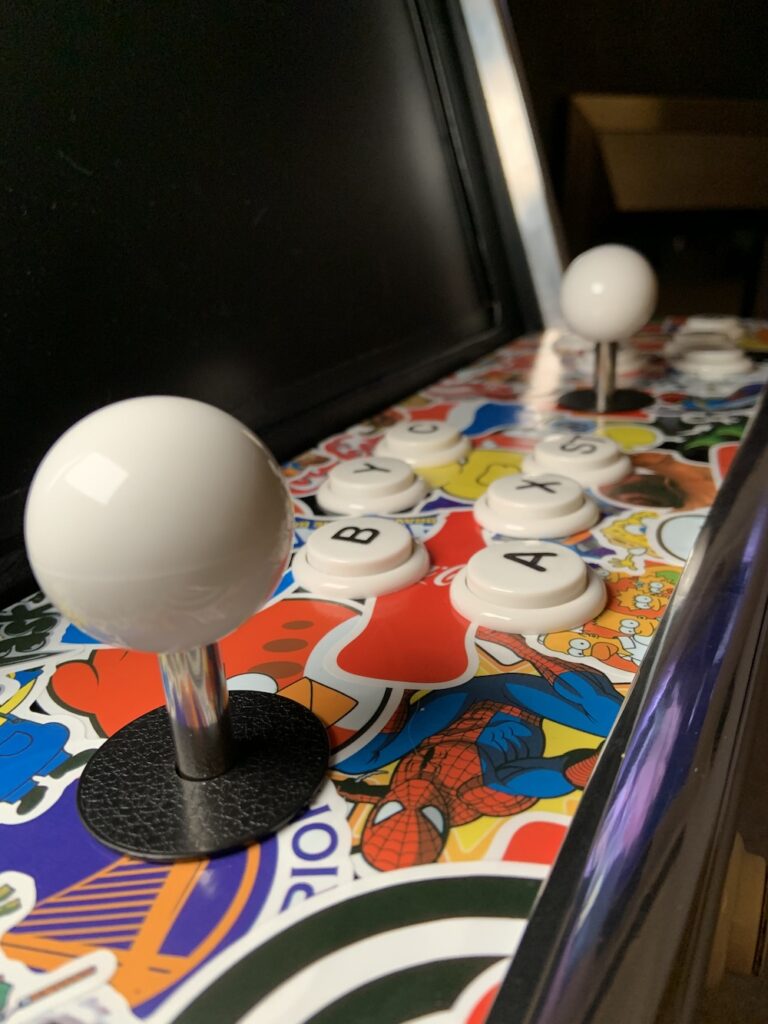
The main controls 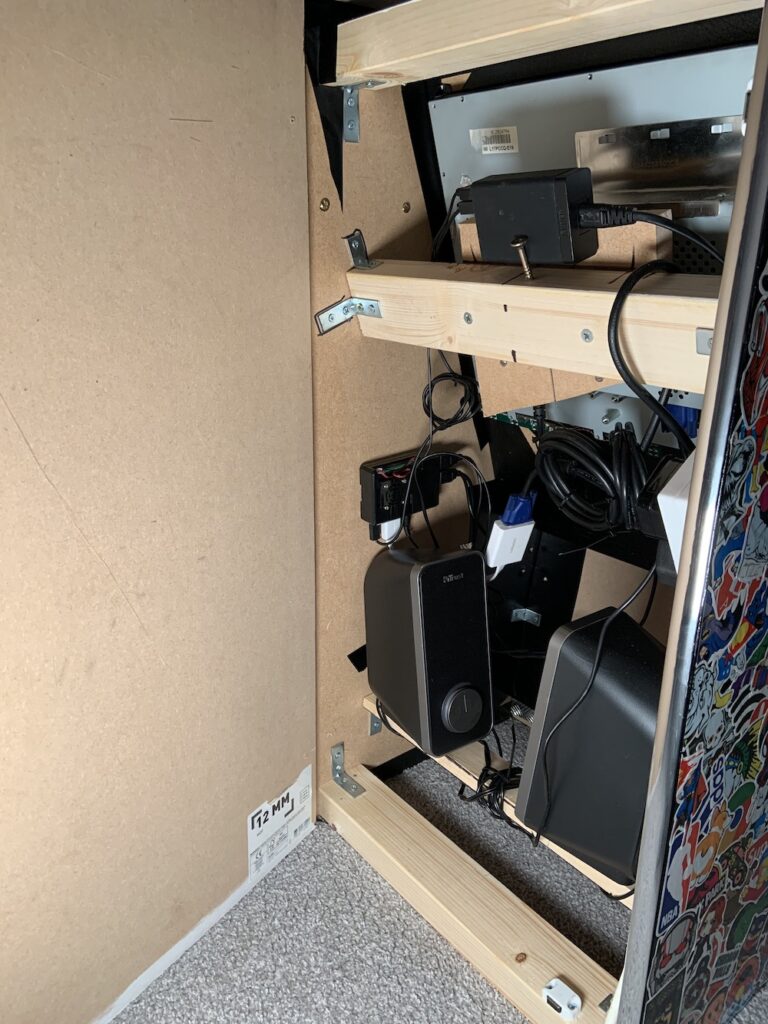
A sneaky look inside (not much to see) 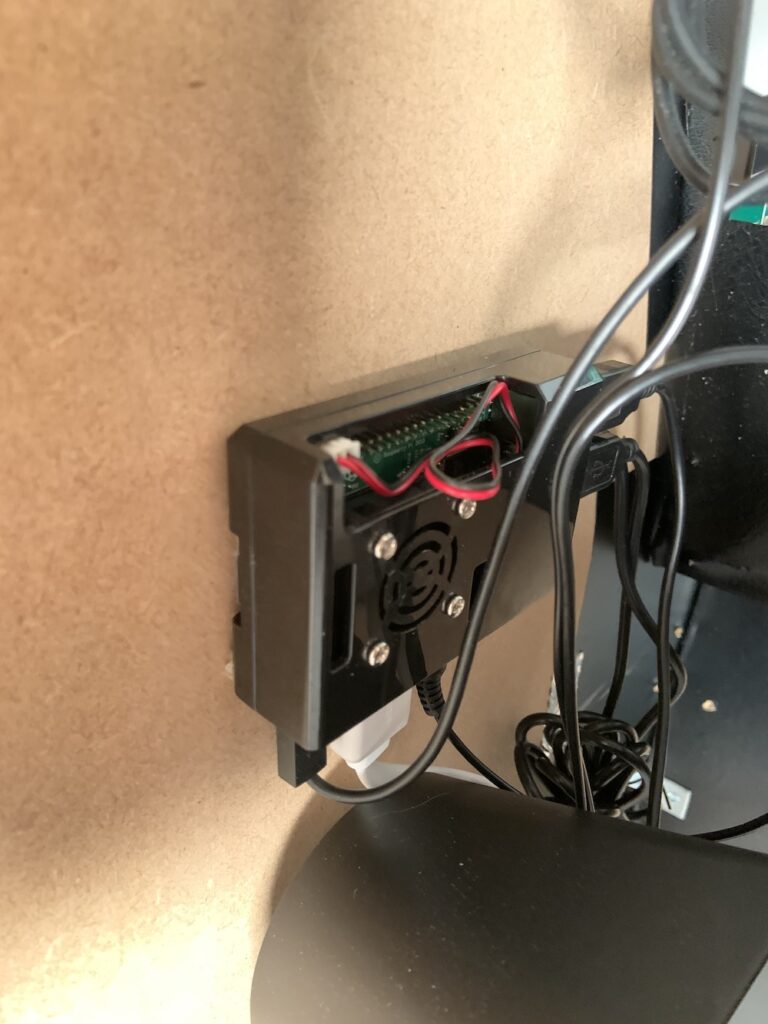
The computer powering it all
A couple of videos
I really enjoyed building this DIY Arcade machine – I love a little project to get stuck in to, and this was one of the more enjoyable ones! And of course, it might be toddler height, but I can just it just as much! If you’re a fan of classic Mario Kart, or Street Fighter, Tekken etc, then this really is for you. You can, of course, buy pre-made kits for this kind of build, but I wanted a toddler sized one, and the challenge of building it (it wouldn’t be a DIY Arcade machine if you didn’t DIY;-)). If you fancied building your own DIY Arcade machine – and need any tips of advice, please feel free to comment below with your questions!
You can check out other DIY posts here or read more of my technology related posts here.
Dude you did a seriously awesome job with this. Lad got skills with the jigsaw. Loved following the updates on your instagram.
I’m also a bit crap with planning. I tend to dive in feet first at the deep end, crack on and see what happens 😂.
Haha, cheers Eddie! Very rough skills with the jigsaw, luck more than judgement 😉 I hate planing stuff, much prefer to get stuck in (and then regret it when I mess up and should have planned it instead!)
😂 same, I’ve got a project coming up in our understairs cupboard and enlisted the advice of my woodworking obsessed diy enthusiast of a father in law 🤣 to help with the planning.
Oh you’re sorted then – woodworker and a planner – job’s as good as done already!! haha!
Nah not had the chance to get all my toys out yet 😂😁
This is just awesome! True Dad goals right there! Haha!
Thanks James