I’ll be honest – we didn’t buy this house for it’s garden. We bought it for the number of good sized room it has – and the large kitchen, after having too many small kitchens where you can barely squeeze in. The garden is small, very small, and when we viewed the house, it was an overgrown mess. We knew it would need work, and we knew we needed to make it practical for Grayson. We’re lucky that we have the beach only a few minutes walk away, so on sunny days, we can head there.
But.
The garden needed work….
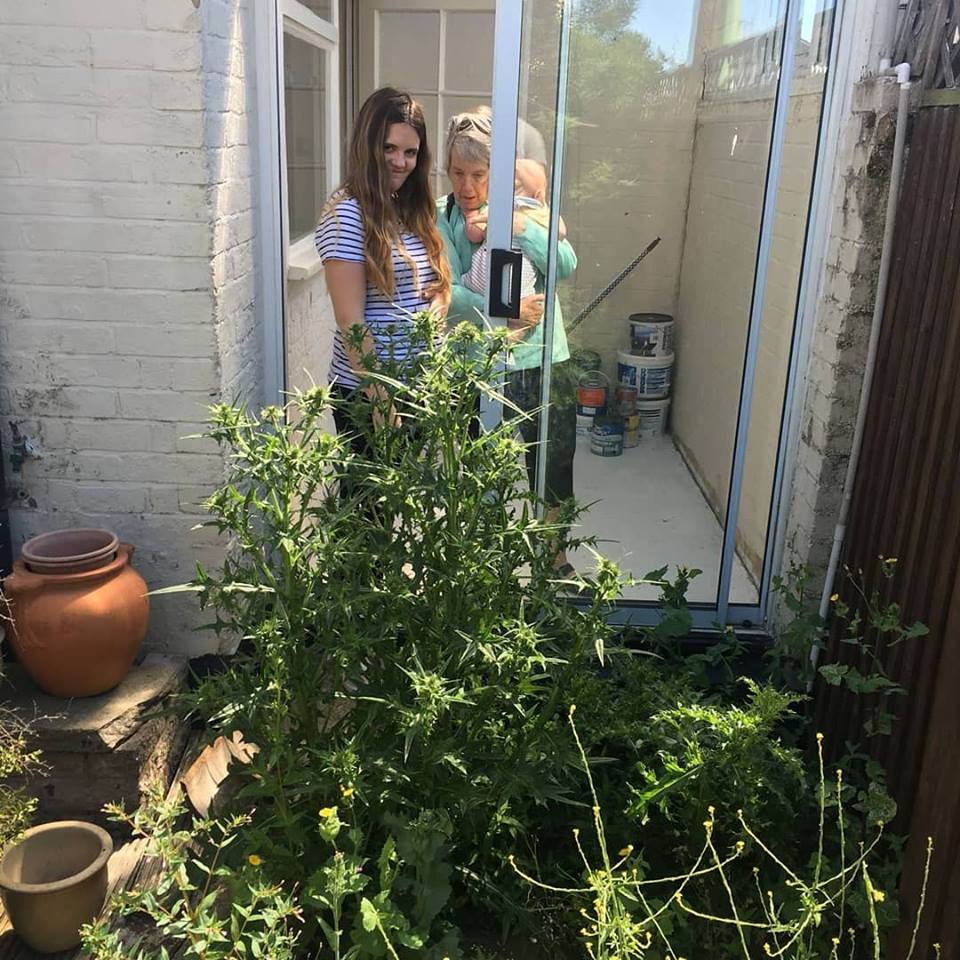
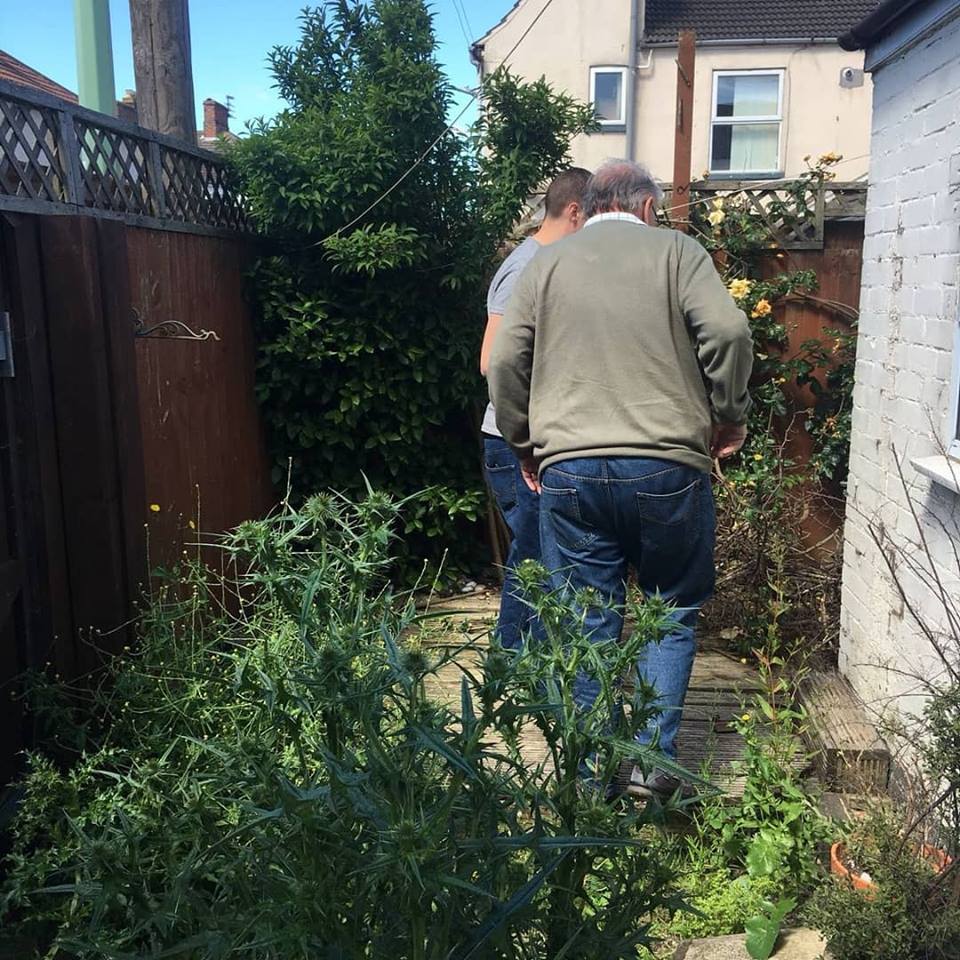
To begin with, we asked my parents to help clear some of the weeds (they love that kind of thing, I think). A few trips to the dump later, and they’d stripped it back to the “solid” parts of the garden
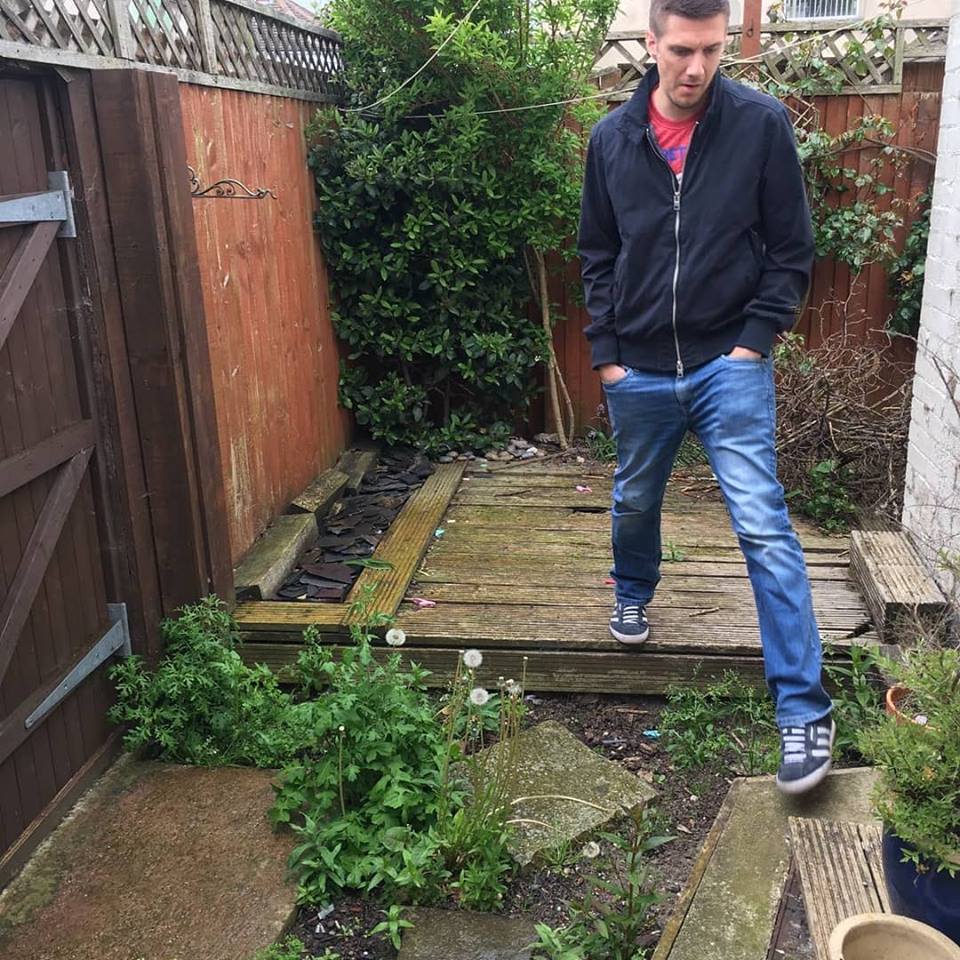
We decided to rip up the decking – we didn’t really have a plan for the garden once we started, so this was all very much on-the-fly in terms of decision making. So, we took up all the shrubs and trees, pulled up the decking and made one big pile of rubbish, and then got it all taken away (There’s some really good local companies, who, for a small fee, will come and take all your rubbish away and dispose of it legally. I think we paid about £65 for a “van load”, which included loads of other waste we’d accumulated).
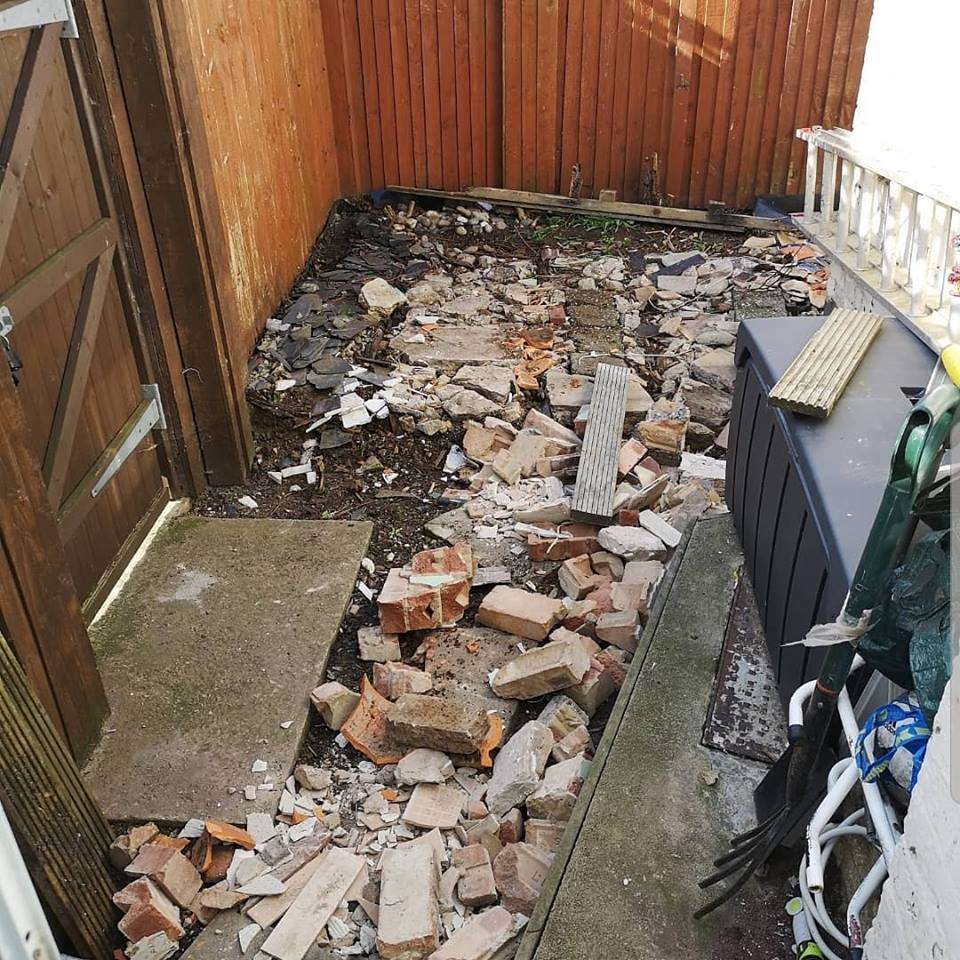
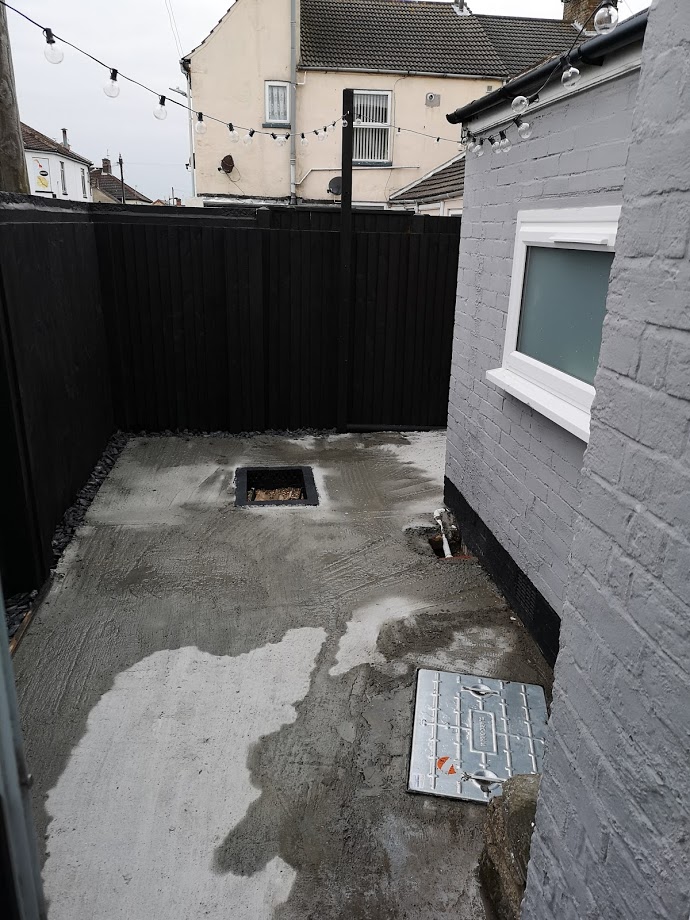
At this point, we realised that there wasn’t a huge amount we could do – due to the manhole cover (right hand side of picture), which was fitted in to a 6″ high lump of concrete. We decided that we’d have to level the whole garden off, which meant a concrete delivery. First, we had to prep the base. We couldn’t move the manhole cover without a huge cost, so decided levelling was the safest option.
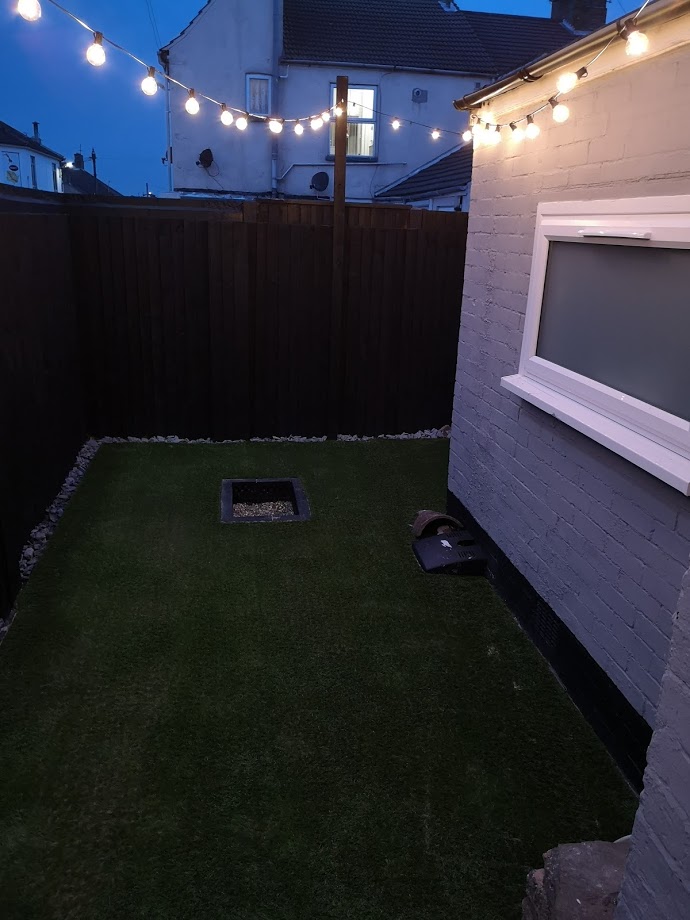
We love sitting out in the summer evenings, with a glass of wine. We used to have a fire pit, but with the space in the garden, we just thought it would waste too much space – so I decided to build one in to the ground, that can be covered when we need the playing space. I also acquired a load of rubble from someone down the road who was having their bathroom replaced – so I did a few car trips and used that as a hard core base for the concrete delivery. All for free.
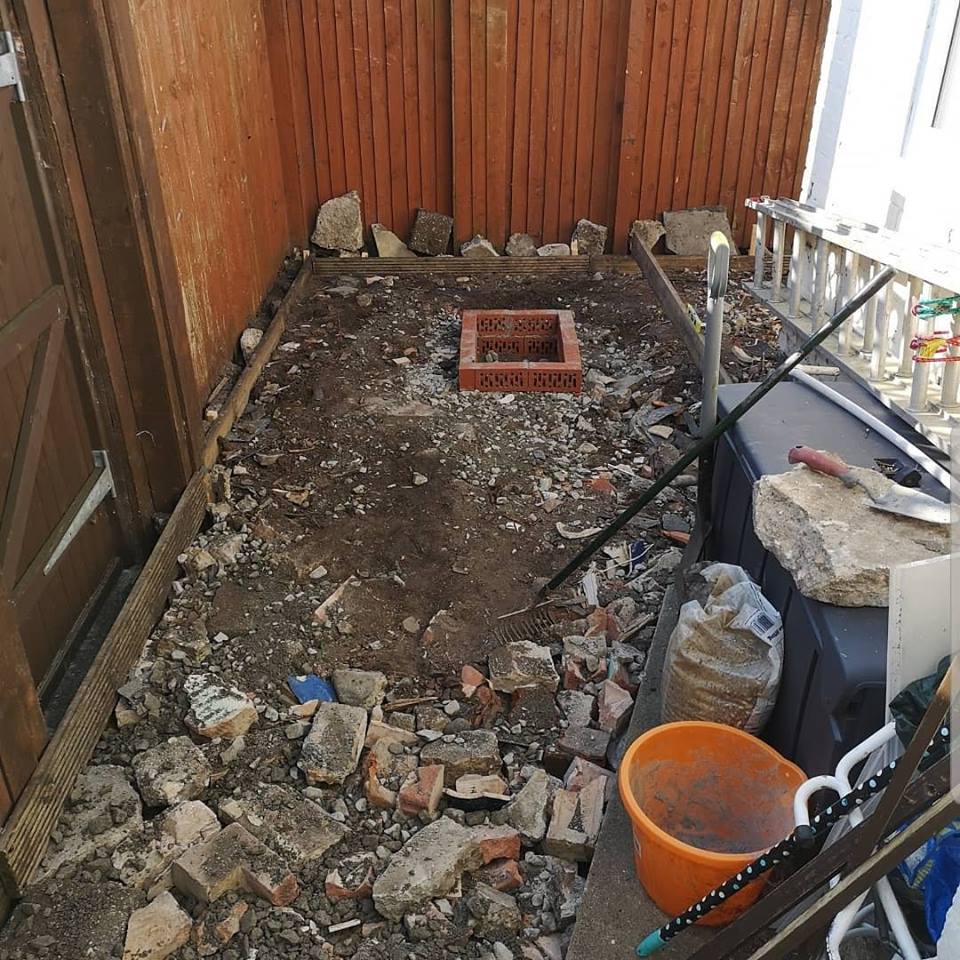
Neither of us had done this before, so having 2 tonnes (at least) of concrete delivered was a bit daunting. I got my mum and dad to come over and be an extra pair of hands on delivery day. I also had to build a brickwork step from the gate up to the new level, and re-size the gate so it opened.
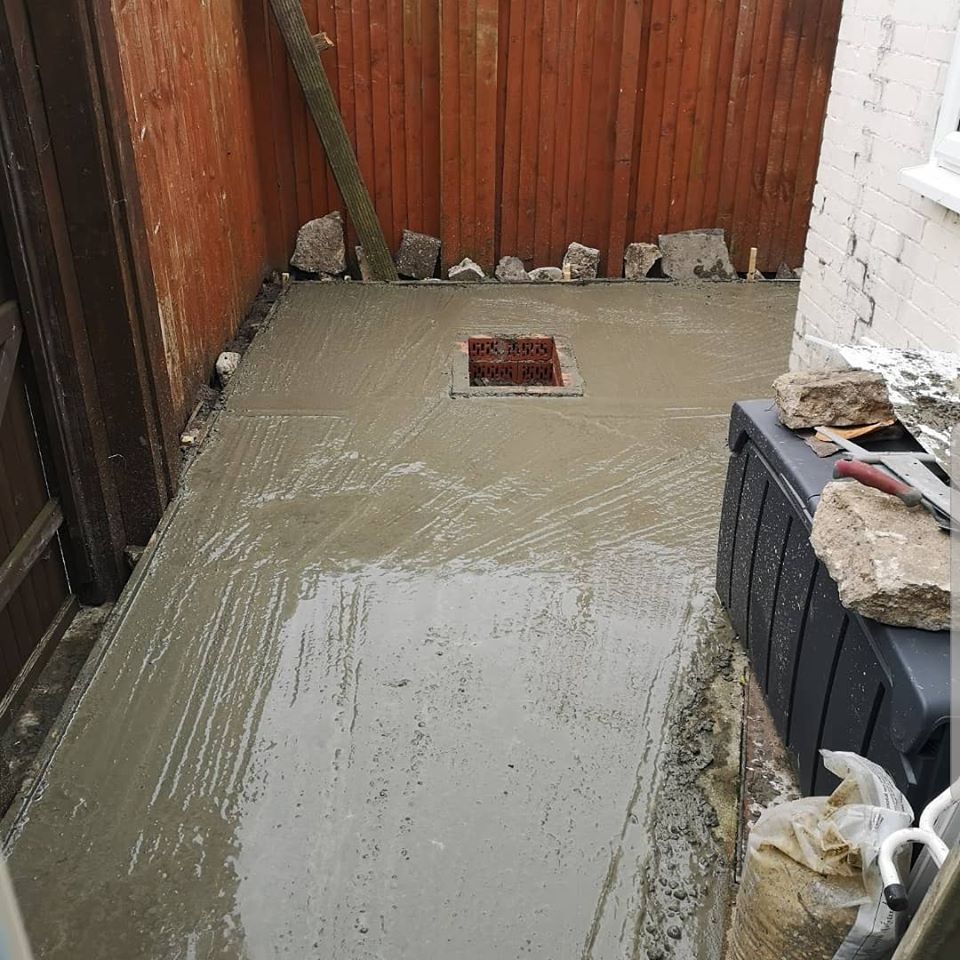
I’d contemplated hiring a mixer and mixing the concrete myself – I’m so glad I didn’t. I had no idea on how much we’d need, and it wasn’t until we had the lorry turn up and start pouring that it hit me. This was massive. It’s at least 6″ deep, more in some places. You can see from the image where we’ve filled it to the level of the manhole cover, fire pit, and edging boards. There’s a slight tilt on the whole base away from the house, so any excess water flows out under the fence, and not back in to our bathroom!
By this point, we’d decided to Astroturf the whole lot. We love grass, but in such a small place, it wasn’t practical. We wanted something that would look good, all year around, and wouldn’t need anything to maintain it. We also decided to paint the fence, and take down the awful, rotten trellis that was around the top (to stop cats, I think), which we replaced with some small plastic fencing, which does the job.
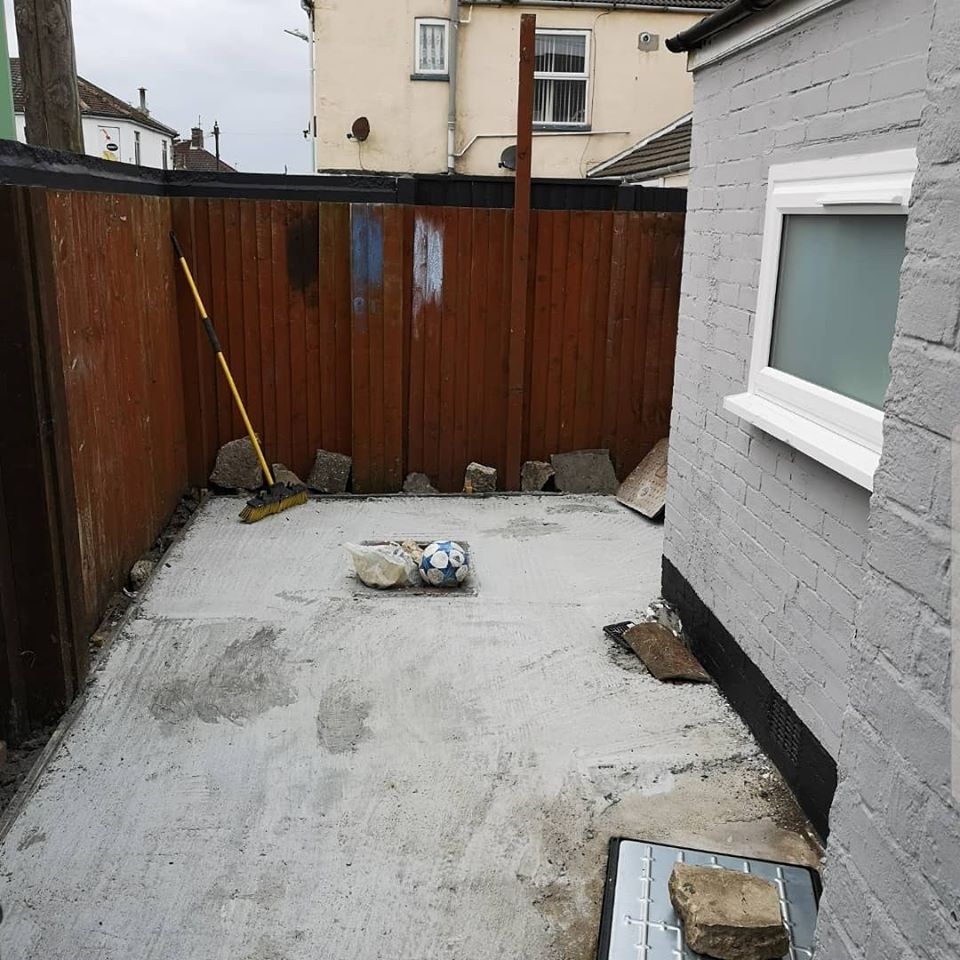
The manhole cover, upon inspection, was stuffed. It was rusty, and rotten, and had started to fall apart. The fear was that someone would stand on it and it would fall through – so I did some research and realised they’re quite easy to replace, so I dug the old one out, and replaced it with a shiny new one whilst the main base was setting (I left the base for about 10 days before moving on, to let it dry out and settle, as it was a very deep pour of concrete).
During this time, we found some awesome, mains-powered string lights to loop up across the garden. Solar is great, but we didn’t want to be sitting in darkness after an hour of using them, so I found some on Amazon and wired them in to the switch in the “garden room” as we call it.
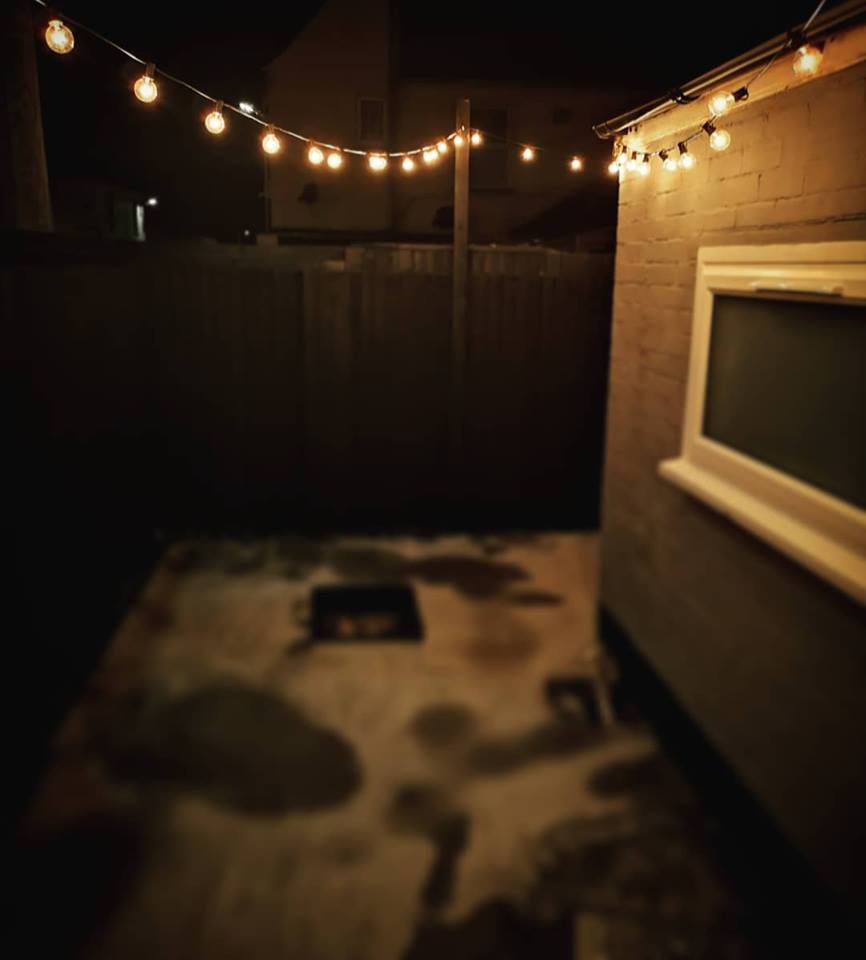
We were also in the middle of painting the exterior of the house, so you’ll notice the building on the right (bathroom) changes colour throughout the process.
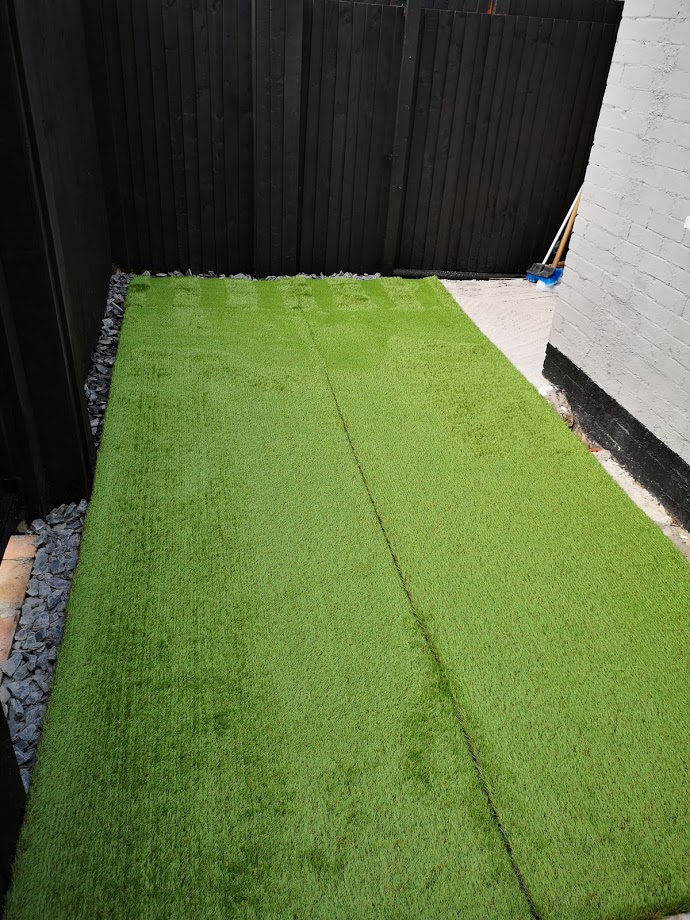
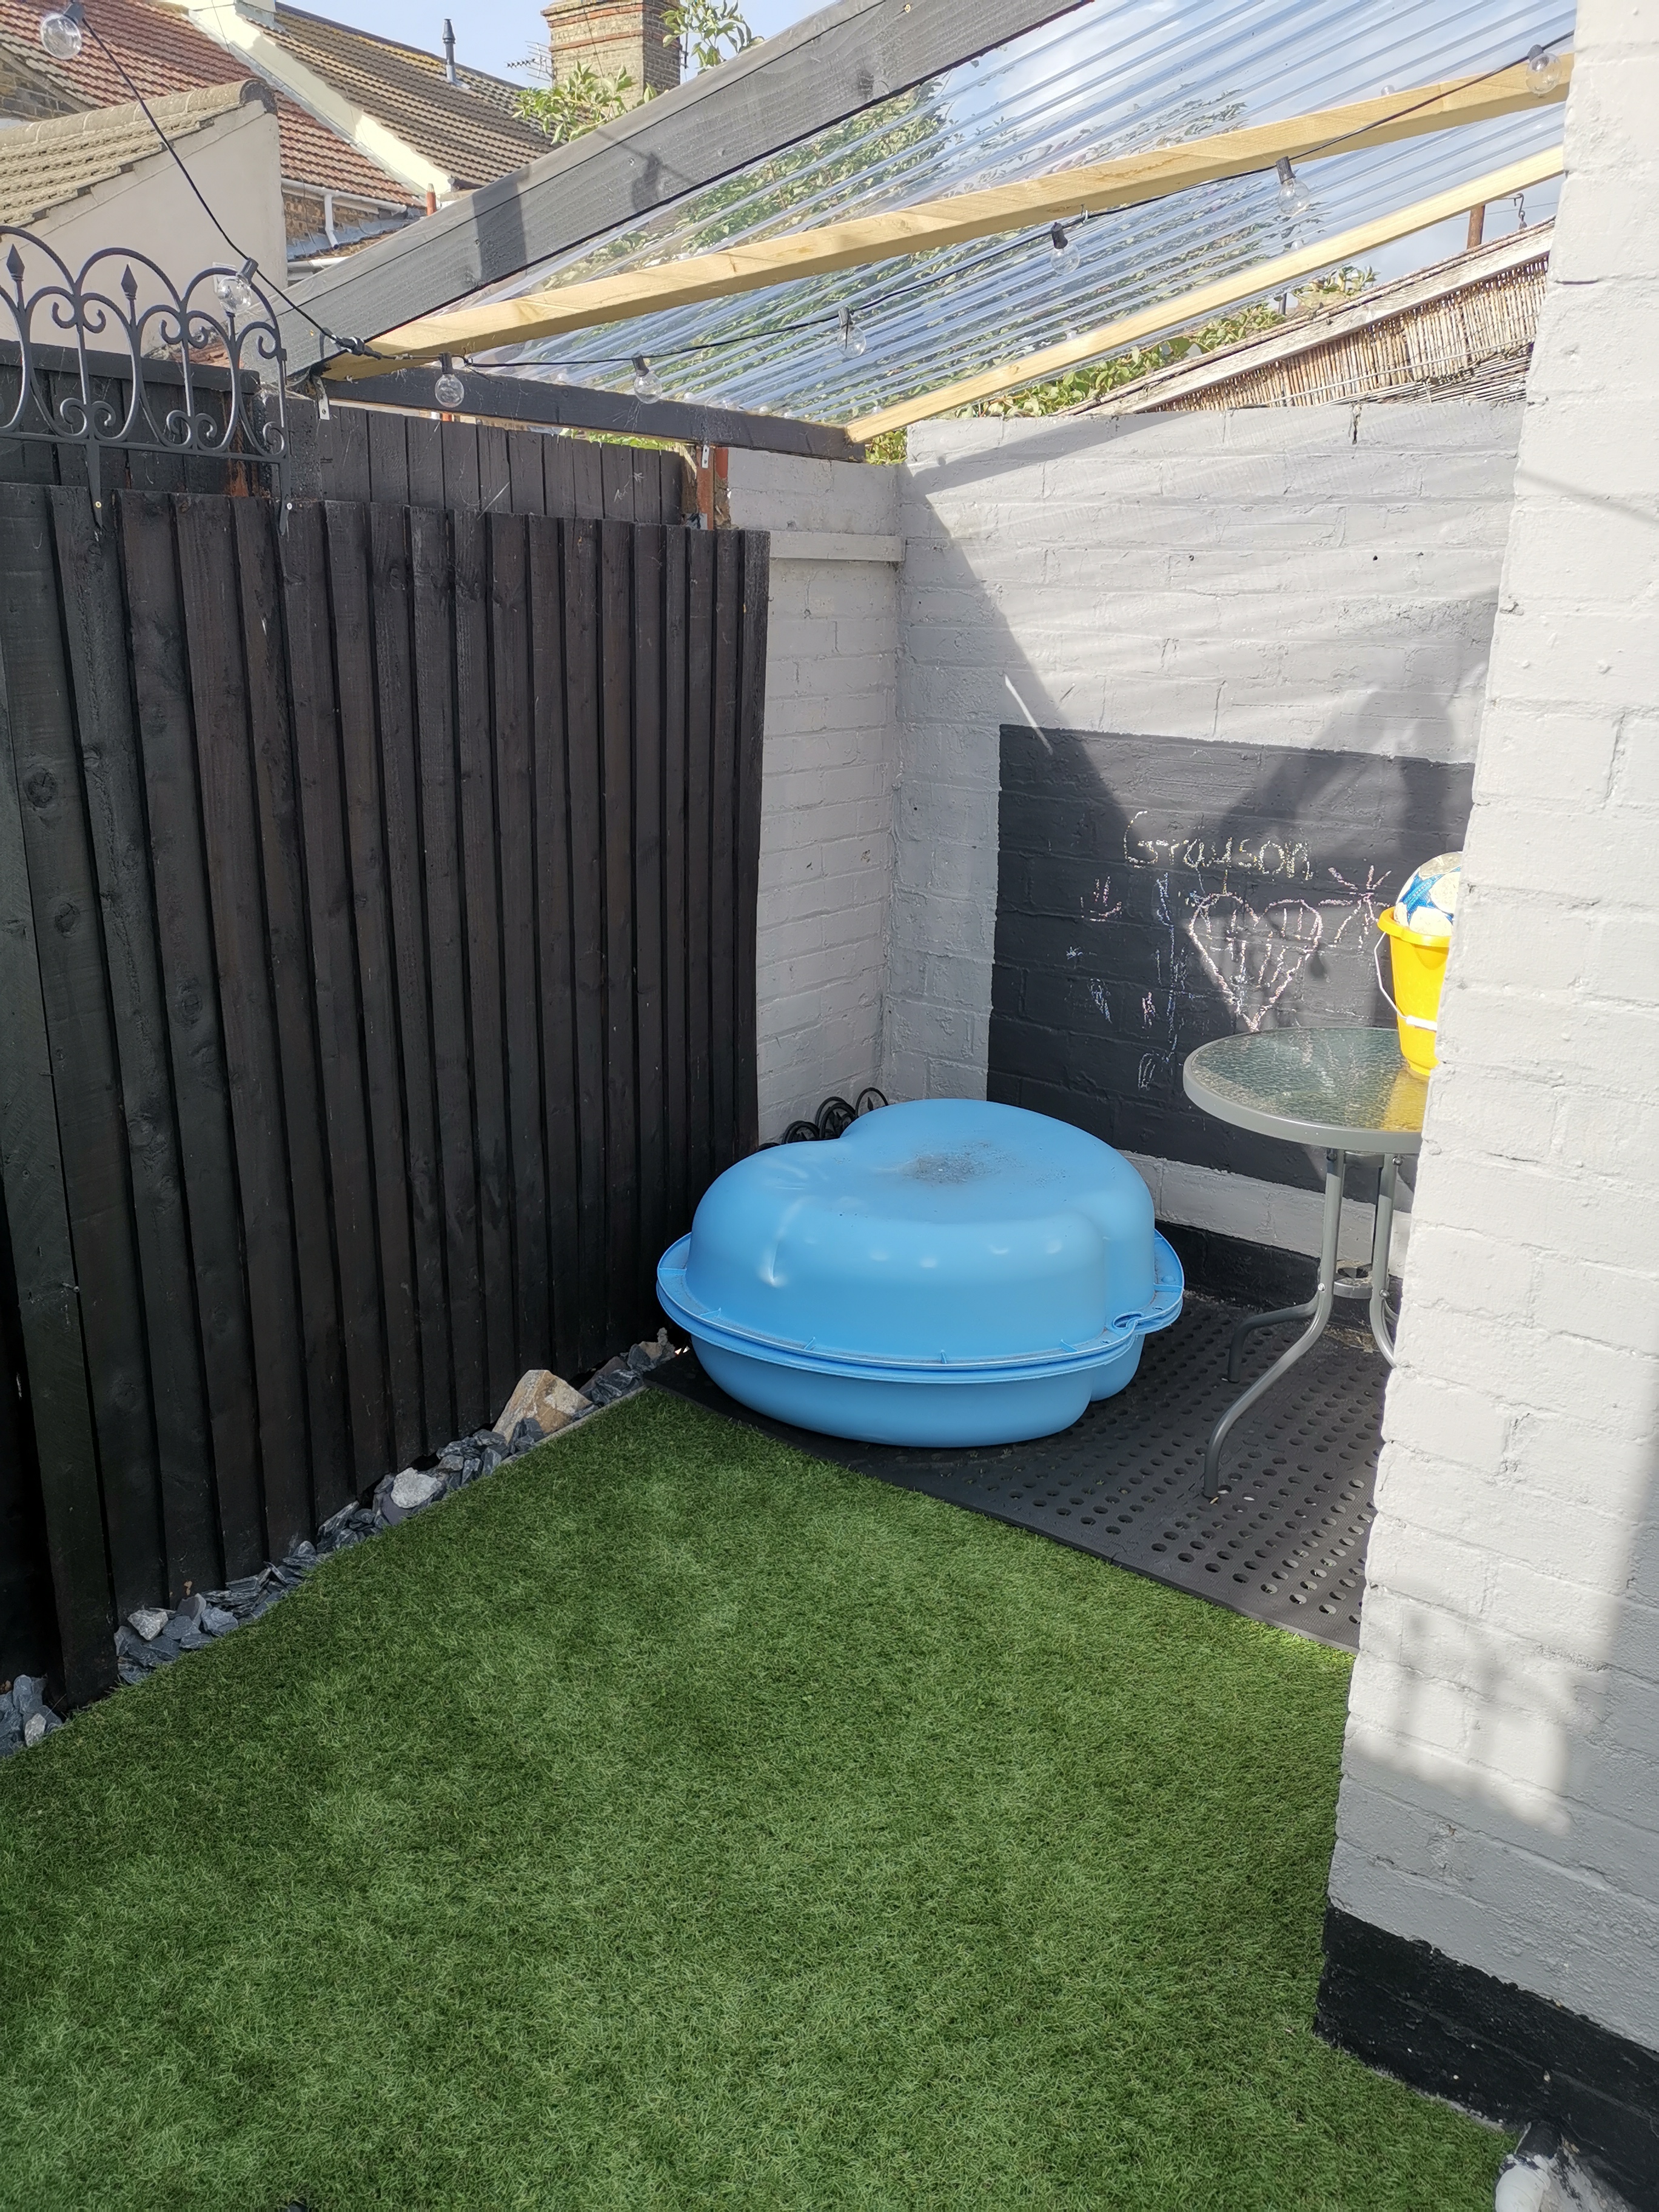
You can get some truly awful astroturf types – we opted for a colour that wasn’t in-your-face green, but that looks crisp and clean against the black fence and grey walls of the house. It’s also got a good pile on it, so it’s softer than some. Laying it was quite straight forward, lots of exterior *strong* adhesive, joining tape and a sharp stanly knife. We also used the astroturf to cover the manhole cover, because, although it was new and shiny, it looked messy!
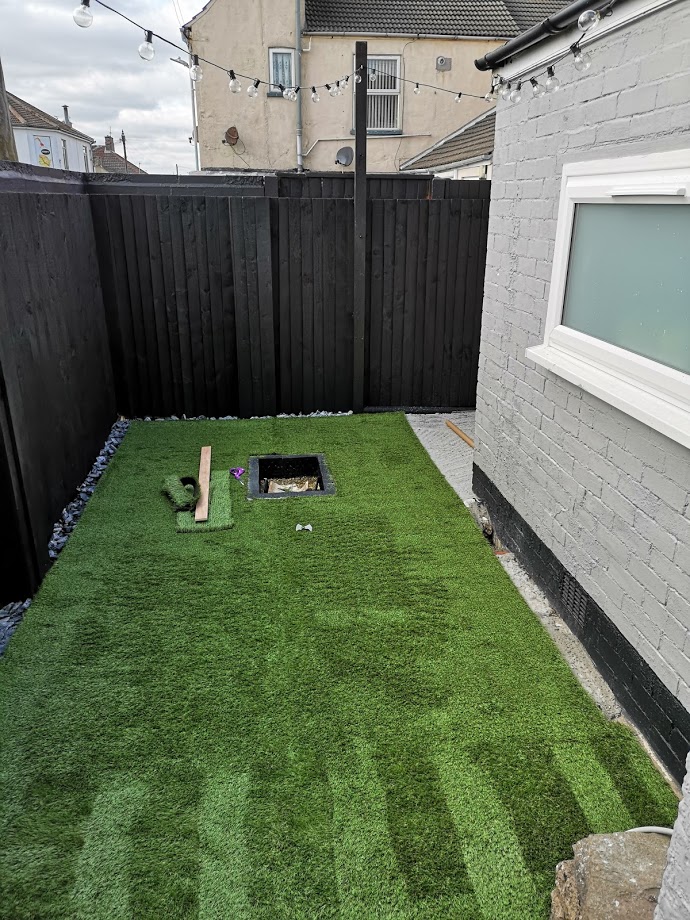
Once the Astro was down, we later decided to create a chalkboard wall for Grayson to use – which I also decided we should put a cover over – not only to offer a bit of shade in the summer, but more importantly, to protect his outdoor toys from the weather when they’re not being used.
Remember, if you put Astroturf down, to add sand. A LOT of sand. I think we had 8 bags of Kiln Dried Sand put down on this after it was laid. The sand not only helps to hold it in place, but it ensures that the strands of plastic remain upright – instead of getting squashed down when people walk on it. Oh and buy a firm brush, and give it a good brush now and again, keeps it looking fresh.
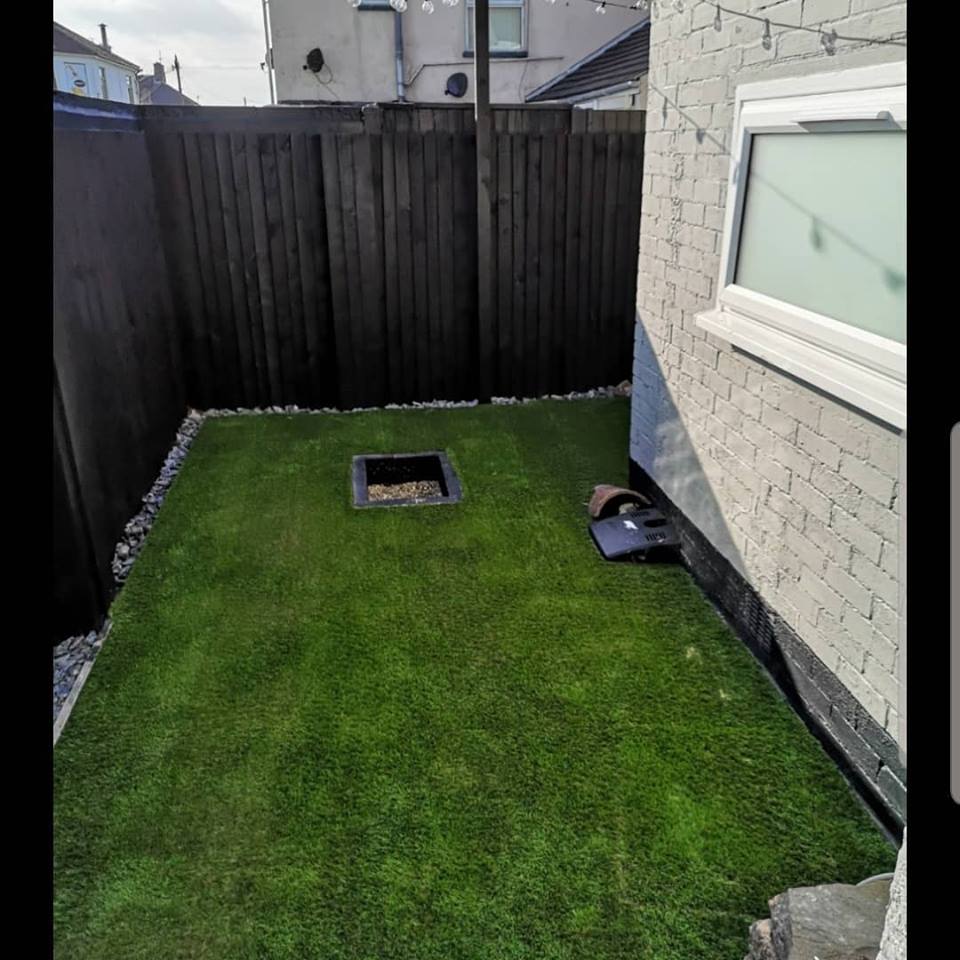


Overall, I think this is one of the best achievements of our house – it’s certainly one of the biggest projects we’ve taken on, and duration wise, it took us a few months from start to finish, as we didn’t want to rush in to anything.
Now the summer has gone, it’s great to look back and see the pictures of Grayson out in the garden enjoying it – a safe place for him to enjoy, and for us to sit down and have a beer in
